


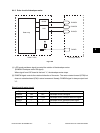


November 2003 © TOSHIBA TEC 9 - 11 e-STUDIO3511/4511 DRIVE SYSTEM
9
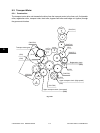
(9) Take off the fuser unit ( Chapter 16.7 [A]).
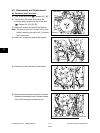
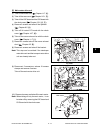
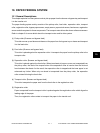
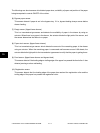
(10) Remove 1 screw and take off the bracket.
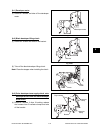
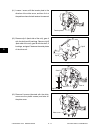
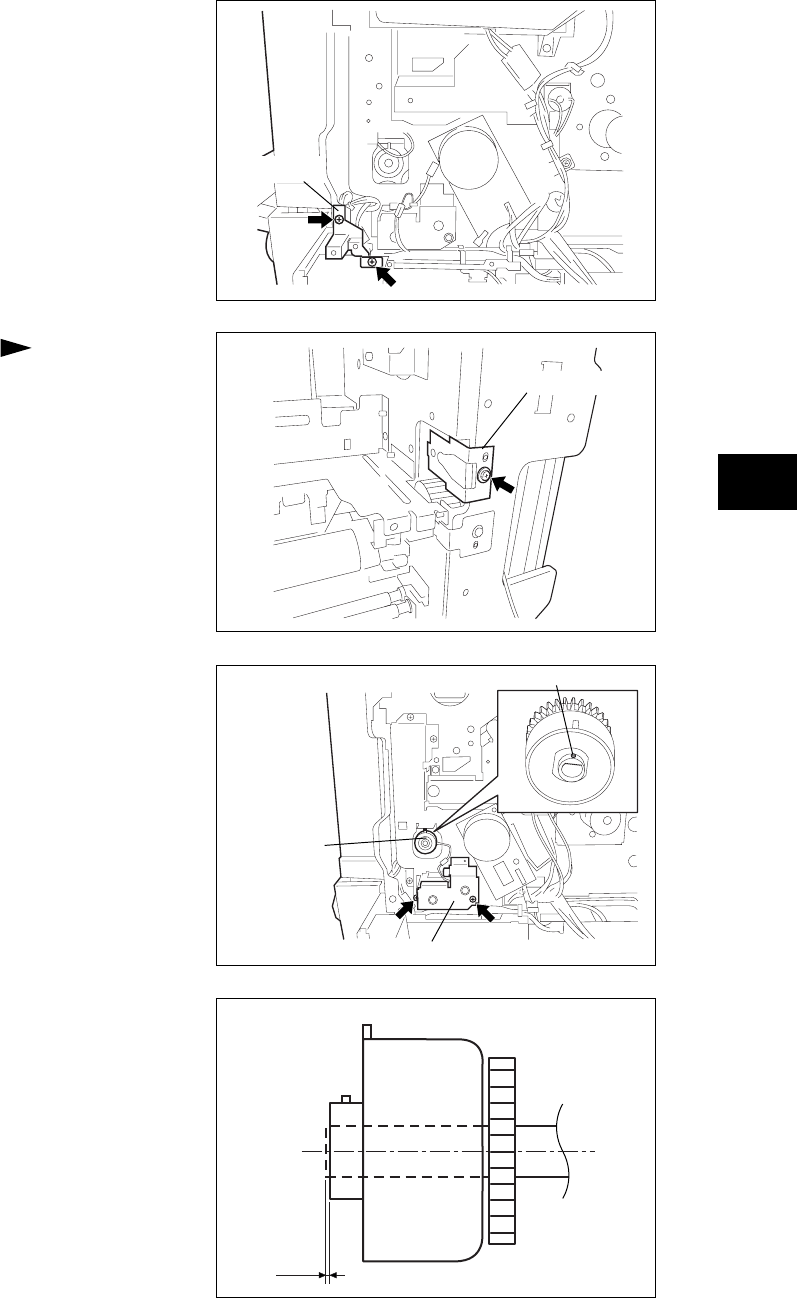
(11) Loosen 1 setscrew, disconnect 1 connector
and take off the registration clutch.
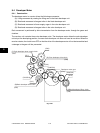
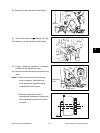
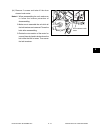
(12) Remove 2 screws and take off the clutch fixing
cover.
Notes: 1. Make sure not to take off the fixing
cover completely. Stand the fixing
cover against the equipment being
connected with the harness.
Fig. 9-513
Fig. 9-514
Fig. 9-512
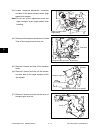
Bracket
(8) Remove 2 screws and take off the bracket.
Bracket
Registration
clutch
Setscrew
Fixing cover
2. When the registration clutch is
reassembled, assemble by keeping the
end of the shaft match with the end of
the clutch.
Fig. 9-515
0