November 2003 © TOSHIBA TEC 2 - 39 e-STUDIO3511/4511 OUTLINE OF THE MACHINE
2
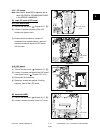
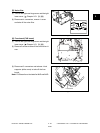
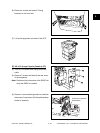
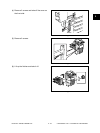
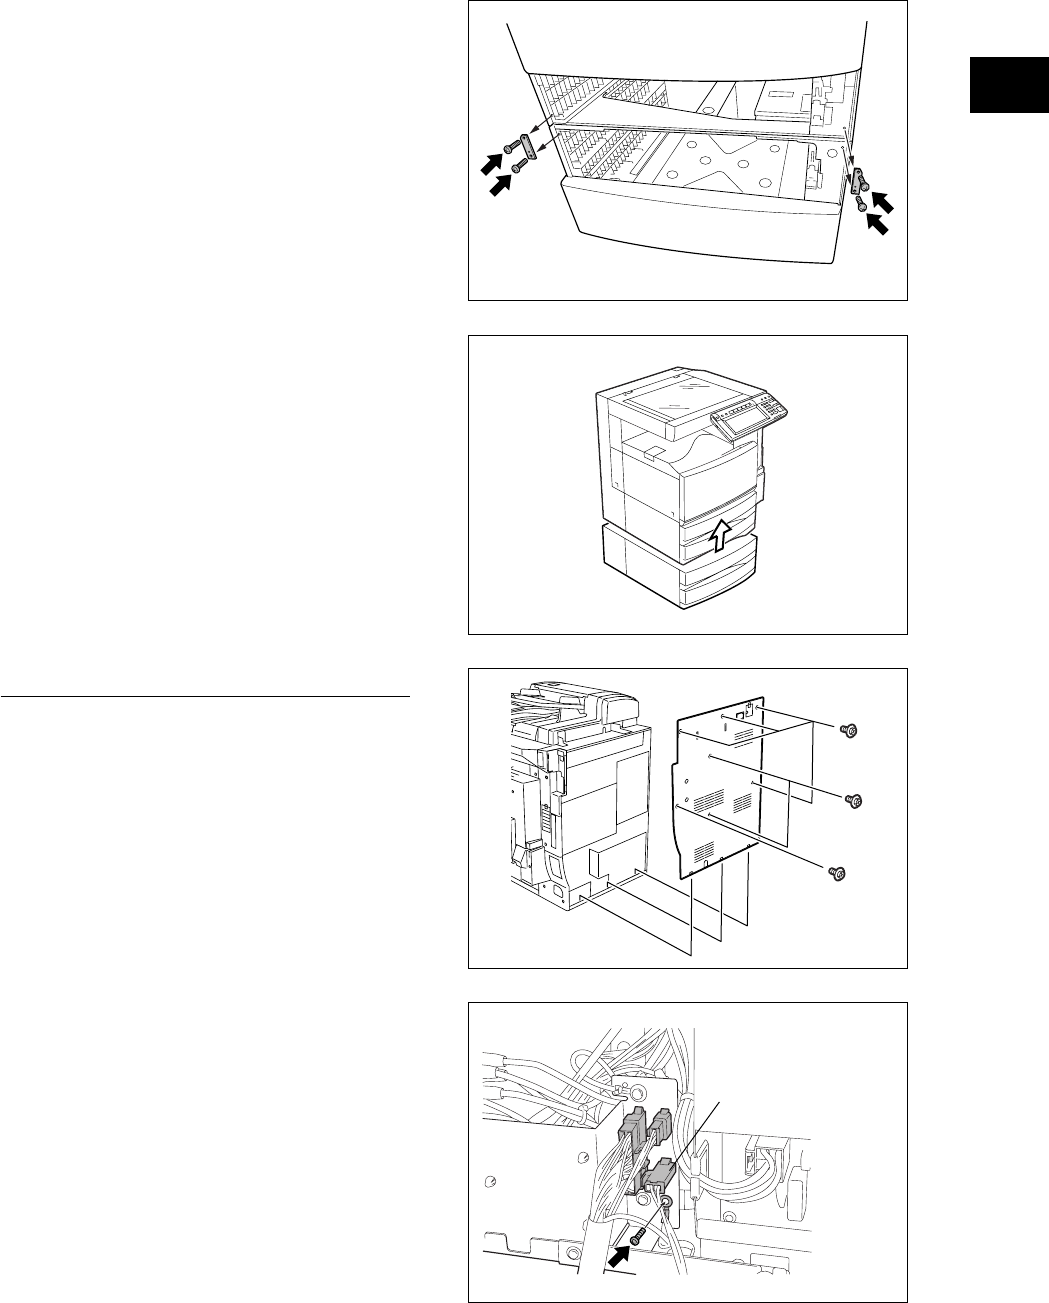
(6) Remove 4 screws and take off 2 fixing
brackets on the front side.
Fig. 2-553
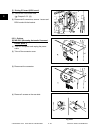
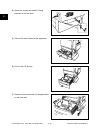
Fig. 2-554
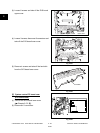
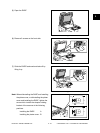
(7) Lift up the equipment and take off the PFP.
Fig. 2-555
[C] KD-1012 (Large Capacity Feeder (LCF))
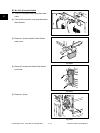
(1) Turn OFF the power and unplug the power
cable.
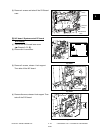
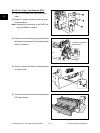
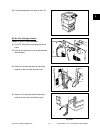
(2) Remove 7 screws and take off the rear cover
of the equipment.
Note: Disconnect the connectors of the RADF first
when the RADF is installed.
Fig. 2-556
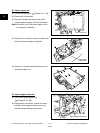
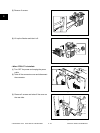
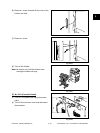
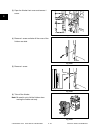
(3) Remove 1 screw and the ground wire, and then
disconnect 2 connectors (3 if the optional damp
heater is installed).
Connector of optional
damp heater


