


November 2003 © TOSHIBA TEC 11 - 11 e-STUDIO3511/4511 DRUM RELATED SECTION
11
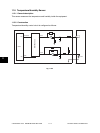
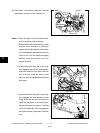
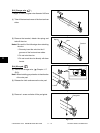
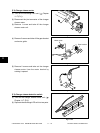
(B-2) Main charger grid
(1) Push the terminal head at the front side and
remove the grid.
Note: Do not touch the mesh area of the grid.
Fig. 11-710
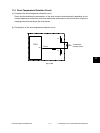
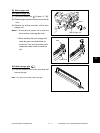
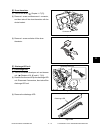
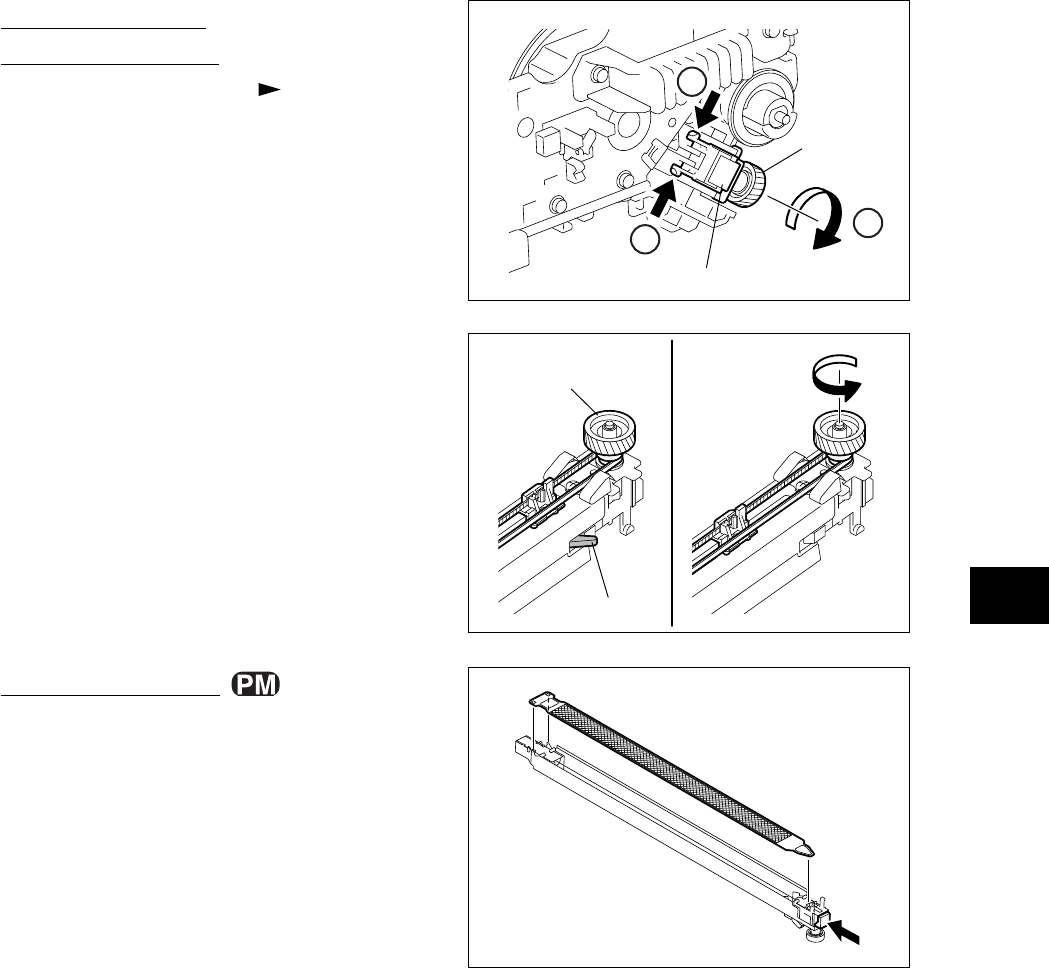
[B] Main charger unit
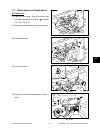
(B-1) Main charger unit
(1) Take off the cleaner unit ( Chapter 11.7 [A]).
(2) Rotate the gear counterclockwise for more than
1 turn.
(3) Release the latches and take off the main
charger unit.
Notes: 1. At this time, be careful not to touch the
drum surface or damage the drum.
2. When installing the main charger unit,
rotate the gear counterclockwise for
more than 1 turn until the holder arm is
completely hidden inside to install the
unit.
Fig. 11-708
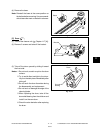
Fig. 11-709
1
2
2
Gear
Main charger unit
Gear
Holder arm