


November 2003 © TOSHIBA TEC 13 - 11 e-STUDIO3511/4511 REVOLVER UNIT
13
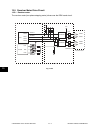
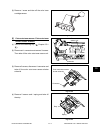
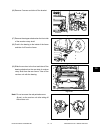
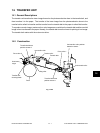
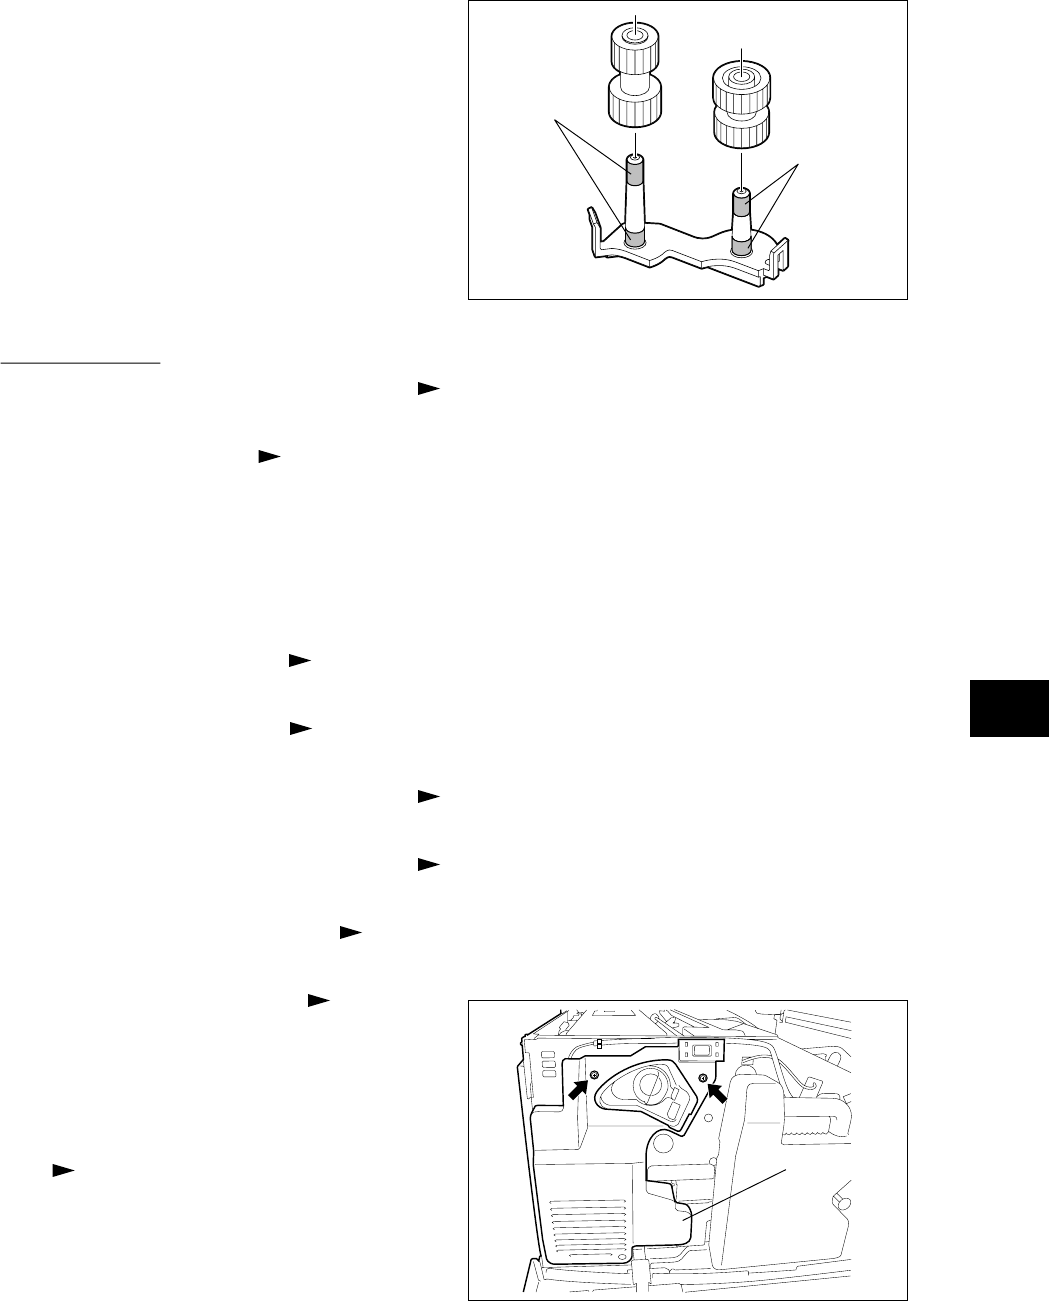
Fig. 13-715
Inner cover
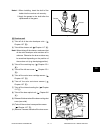
[H] Revolver unit
(1) Take off all of the color developer units (
Chapter 13.7 [B]).
(2) Take off the cleaner unit ( Chapter 11.7 [A]).
Note: When taking off the cleaner, make sure that
all the color developer units are taken off in
advance. Otherwise the drum surface may
be scratched depending on the position of
the revolver unit (e.g. developing position).
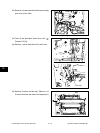
(3) Take off the receiving tray ( Chapter 2.5.1
[B]).
(4) Take off the left rear cover ( Chapter 2.5.1
[G]).
(5) Take off the color toner cartridge sensor (
Chapter 13.7 [D]).
(6) Take off the color auto-toner sensor (
Chapter 13.7 [E]).
(7) Take off the internal cooling fan ( Chapter
13.7 [I]).
(8) Take off the laser optical unit ( Chapter 8.6
[A]).
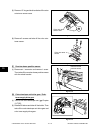
(9) Release 2 latches take off the laser cooling duct
cover (rear side).
(10) Take off the revolver home position sensor
( Chapter 13.7 [F]).
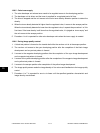
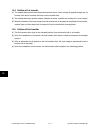
(11) Remove 2 screws and take off the inner cover.
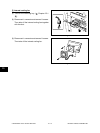
Notes: 1. When installing, insert the shaft of the
holder into the revolver unit securely.
2. Apply the grease to the shaft after the
replacement of the gears.
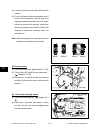
Fig. 13-714
Grease
Grease