e-STUDIO3511/4511 TRANSFER/TRANSPORT UNIT 14 - 10 November 2003 © TOSHIBA TEC
14
2
1
1
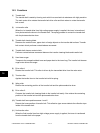
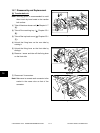
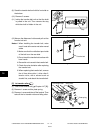
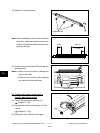
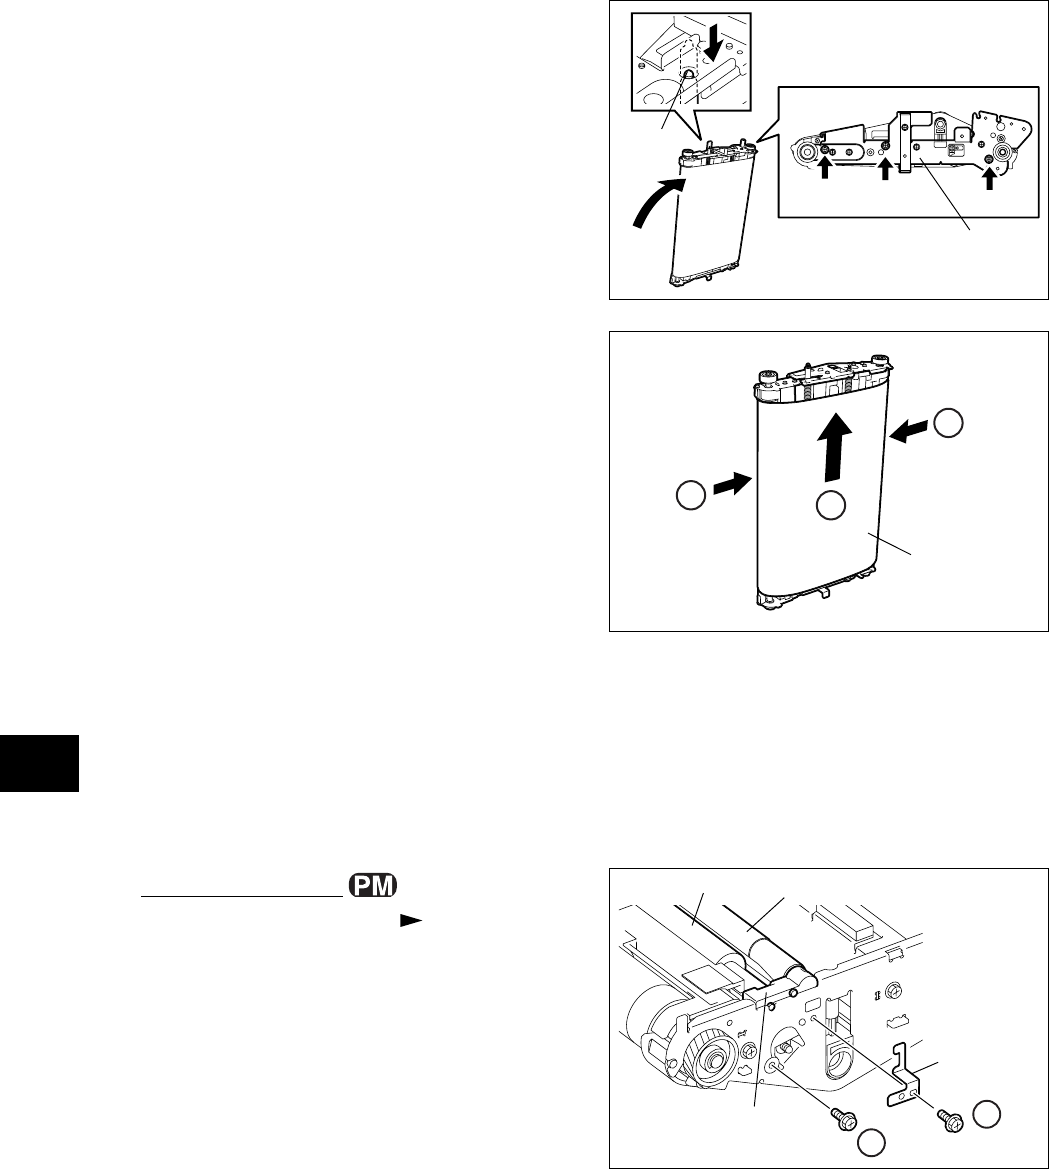
Fig. 14-715
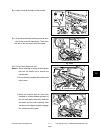
Fig. 14-716
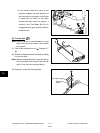
Fig. 14-717
Shaft
Stay
Transfer belt
(9) Stand the transfer belt unit with its front side on
the bottom.
(10) Remove 3 screws.
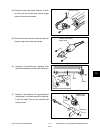
(11) Incline the transfer belt unit so that the shaft
is pulled in the unit. Then remove the stay
while the shaft is hidden in the unit.
(12) Narrow the distance of rollers and pull out the
transfer belt unit.
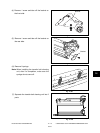
Notes:1. When installing the transfer belt, make
sure it is set at the center not to be moved
aside.
2. Make sure that the reflection tape inside
of the belt is on the rear side.
3. Do not touch the transfer belt surface with
bare hands.
4. Be careful not to scratch the transfer belt.
5. Check the color deviation after replacing
the transfer belt.
6. When replacing the transfer belt, remove
the oil from drive roller-1, drive roller-2,
tension roller, with a solvent such as
alcohol first, and attach the transfer belt.
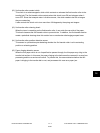
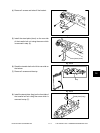
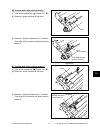
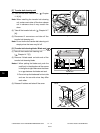
[C] 1st transfer roller
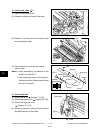
(1) Take off the transfer belt ( Chapter 14.7 [B]).
(2) Remove 1 screw and the plate spring.
(3) Remove 1 screw and take off the bracket. Then
take off the 1st transfer roller and idling roller.
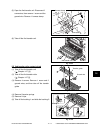
1
2
1st transfer roller
Idling roller
Plate spring
Bracket
04/10


