


e-STUDIO3511/4511 DRIVE SYSTEM 9 - 8 November 2003 © TOSHIBA TEC
9
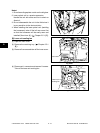
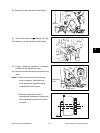
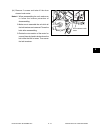
(5) Remove 3 screws and take off the bracket.
9.5 Disassembly and Replacement
[A] Developer motor drive unit
(1) Take off the rear cover ( Chapter 2.5.1 [P]).
(2) Take off the LGC board, SYS board and
switching power supply with the whole case
( Chapter 2.5.2 [A] [C] [E]).
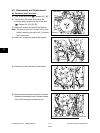
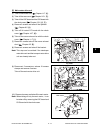
(3) Remove 3 screws and take off the flywheel.
Note: The main motor can be taken off by itself
without removing the drive unit. (2 screws
and 1 connector)
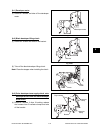
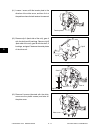
(4) Remove 2 screws and take off the bracket.
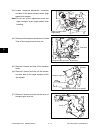
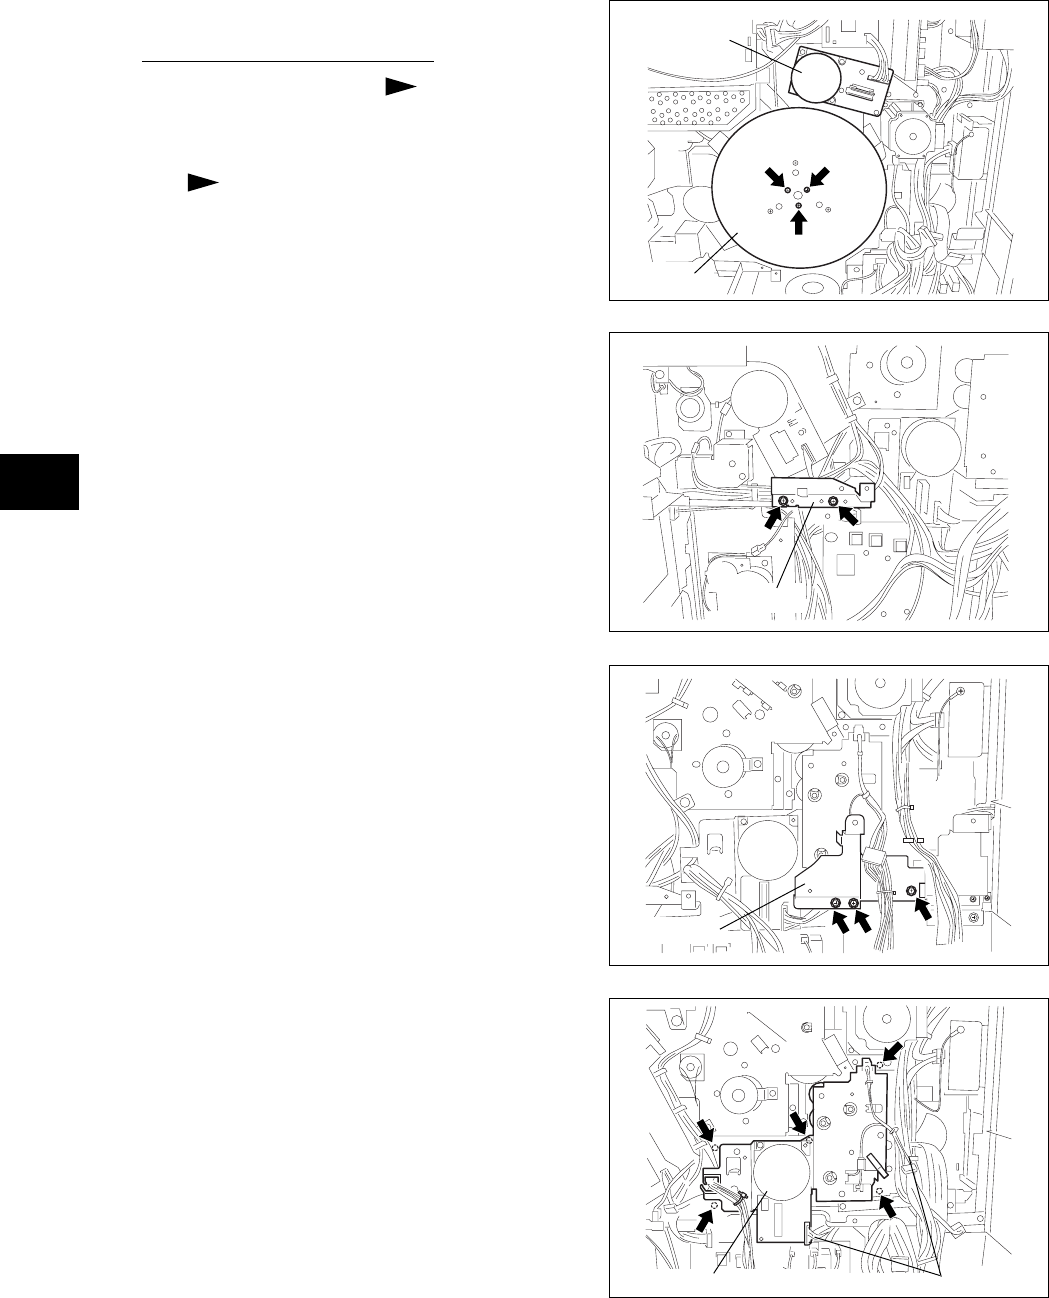
(6) Disconnect 3 connectors and remove 5 screws.
Release the harnesses from 3 harness clamps.
Take off the developer motor drive unit.
Fig. 9-501
Fig. 9-502
Fig. 9-503
Fig. 9-504
Flywheel
Main motor
Bracket
Bracket
ConnectorDeveloper motor drive unit
04/05