


e-STUDIO3511/4511 OUTLINE OF THE MACHINE 2 - 34 November 2003 © TOSHIBA TEC
2
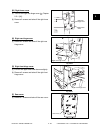
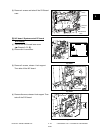
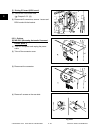
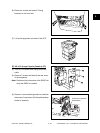
(5) Remove 11 screws and take off the cover of
the power supply unit.
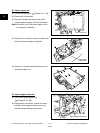
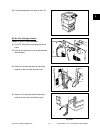
[F] High-voltage transformer
(1) Take off the power supply unit
( Chapter 2.5.2 [E]).
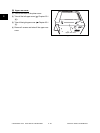
(2) Disconnect 8 connectors, remove 2 screws,
release 2 lock supports (white arrow) and
take off the high-voltage transformer.
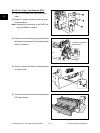
Fig. 2-536
Fig. 2-537
High-voltage transformer
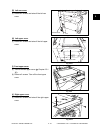
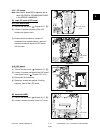
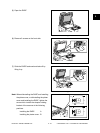
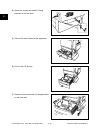
[E] Power supply unit
(1) Take off the rear cover ( Chapter 2.5.1 [P]).
(2) Disconnect 8 connectors.
(3) Remove 3 screws and take off the whole
switching power supply unit with the bracket.
Note: Be careful not for the power supply unit to
be caught by harnesses.
Fig. 2-534
Power supply unit
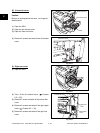
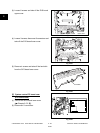
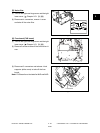
(4) Disconnect 1 connector, remove 4 screws and
take off the power supply cooling fan.
FLOW
Fig. 2-535
Power supply
cooling fan
Connector
04/05