


16
November 2003 © TOSHIBA TEC 16 - 23 e-STUDIO3511/4511 FUSER UNIT/PAPER EXIT SECTION
Fig. 16-732
Fig. 16-731
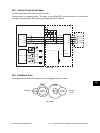
Cleaning unit
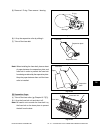
Thermostat unit
Pressure roller
Fig. 16-730
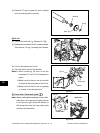
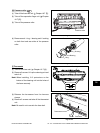
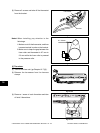
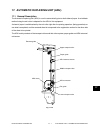
Bushing
Bearing
Ring
(4) Remove each 1 ring, 1 bearing and 1 bushing
on both front and rear sides of the pressure
roller.
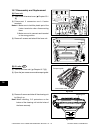
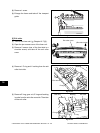
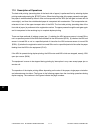
[I] Thermostat
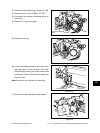
(1) Take off the fuser unit ( Chapter 16.7 [A]).
(2) Remove 2 screws. Lift up the cleaning unit and
take it off.
Note: When installing, fit 2 protrusions on the
bottom of the cleaning unit into the holes of
the frame securely.
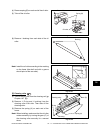
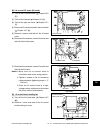
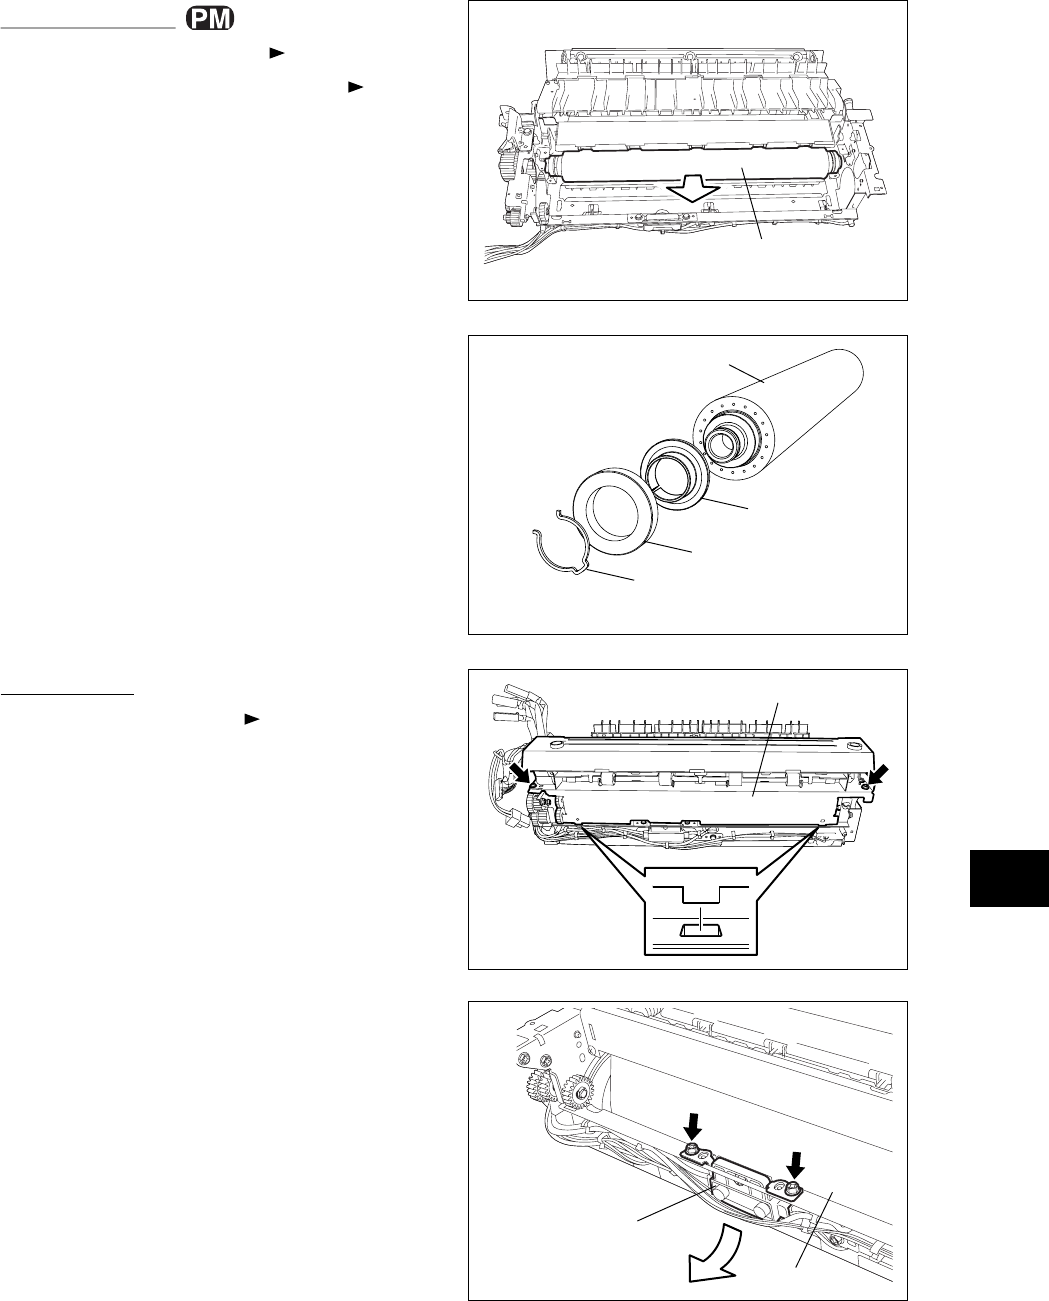
(3) Release the harnesses from the harness
clamps.
(4) Remove 2 screws and take off the thermostat
unit.
Note: Be careful not to scratch the fuser belt.
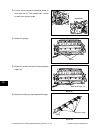
Fuser belt
Fig. 16-729
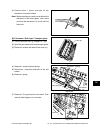
Pressure roller
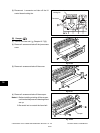
[H] Pressure roller
(1) Take off the fuser belt unit ( Chapter 16.7 [F]).
(2) Take off the separation finger unit ( Chapter
16.7 [G]).
(3) Take off the pressure roller.