


e-STUDIO3511/4511 DRUM RELATED SECTION 11 - 12 November 2003 © TOSHIBA TEC
11
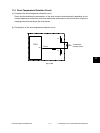
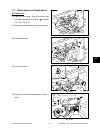
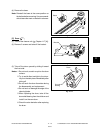
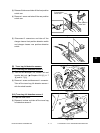
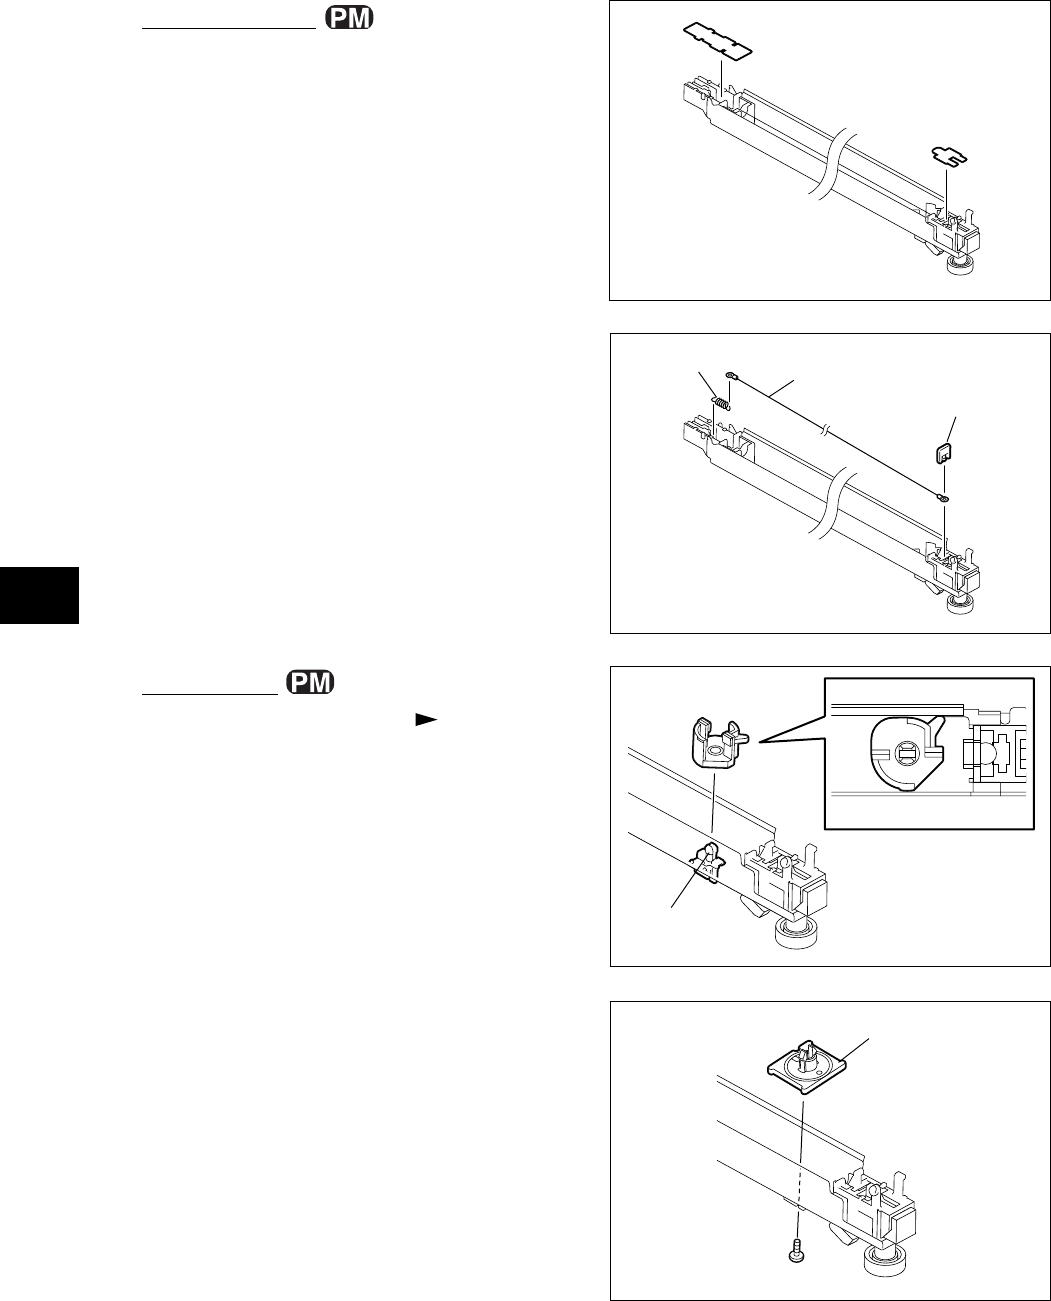
(2) Remove the terminal, detach the spring and
take off the wire.
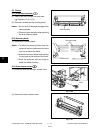
Notes: Be careful of the followings when attaching
the wire.
1. Securely insert the wire into the V-
grooves of the front and rear sides.
2. Do not twist the wire.
3. Do not touch the wire directly with bare
hands.
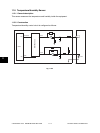
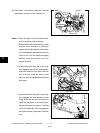
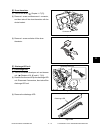
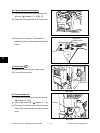
(B-4) Wire pad
(1) Take off the charger wire ( Chapter 11.7
(B-3)).
Note: When installing, pay attention to the direction
of the wire pad.
(2) Release the latch and remove the wire pad.
Spring
Terminal
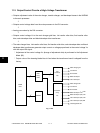
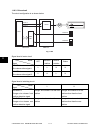
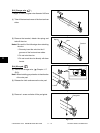
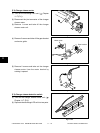
(B-3) Charger wire
* Length: 373 mm, tungsten wire diameter 0.06 mm
(1) Take off the terminal covers of the front and rear
sides.
Fig. 11-711
Fig. 11-712
Fig. 11-713
Wire
Latch
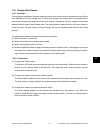
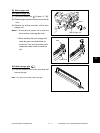
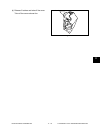
(3) Remove 1 screw and take off the pad guide.
Fig. 11-714
Pad guide