


e-STUDIO3511/4511 PAPER FEEDING SYSTEM 10 - 18 November 2003 © TOSHIBA TEC
10
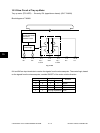
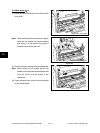
Fig. 10-429
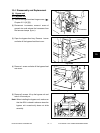
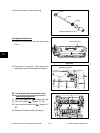
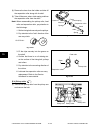
(3) Disconnect 1 connector and remove 1 screw.
Then take off the upper drawer feed sensor with
the whole bracket.
(4) Disconnect 1 connector and remove 1 screw.
Then take off the registration sensor with the
whole bracket.
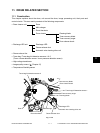
Fig. 10-430
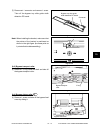
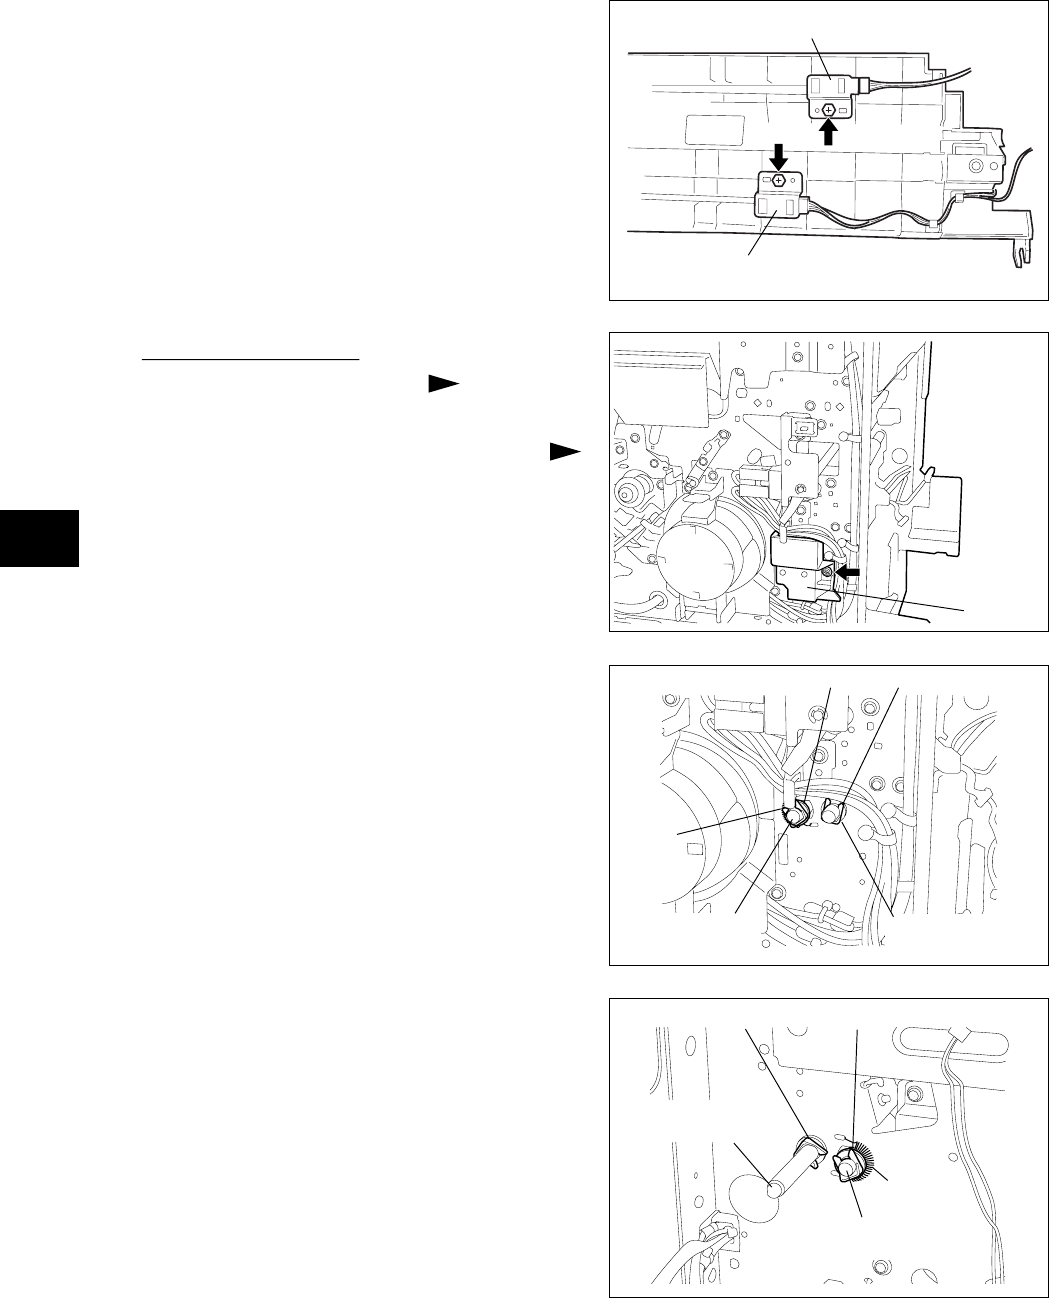
Fig. 10-431
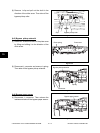
Fig. 10-432
Upper drawer feed sensor
Registration sensor
Bracket
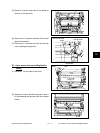
Registration roller
(Metal roller)
Registration roller
(Rubber roller)
Registration roller
(rubber roller)
Registration roller
(metal roller)
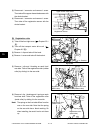
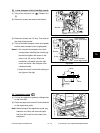
(6) Remove 1 clip, 1 bushing and 1 spring on each
front/rear side. Take off the registration roller
(metal roller) by sliding it to the rear side.
Note: The spring on the front side differs from the
one on the rear side. Note that the spring
on the rear side has a black marking. So
when installing, be careful not to mix them
up.
Spring
(6)
Clip (6)
Clip (5)
Spring (6)
Clip (6)
Clip (5)
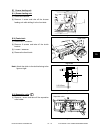
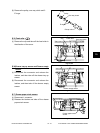
[D] Registration roller
(1) Take off the front right cover ( Chapter 2.5.1
[E]).
(2) Take off the transport motor drive unit (
Chapter 9.5 [B]).
(3) Remove 1 clip and take off the knob.
(4) Remove 1 screw and take off the bracket.
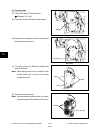
(5) Remove 1 clip and 1 bushing on each front/
rear side. Take off the registration roller (rubber
roller) by sliding it to the rear side.