Setting Pointers and Changing Timing
3–144
CTS 710 SONET Test Set User Manual
500 ms,
Nominal
Increment
Next Two Presses of POINTER
ACTION
F
r
Pr
f
POINTER
ACTION
Example
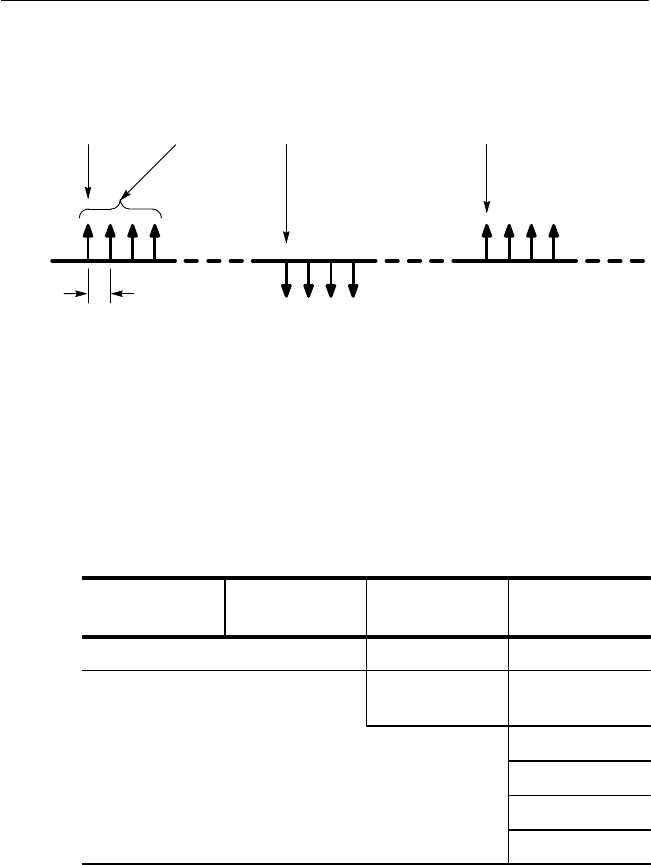
Burst of Four
Pointer
Movements
Decrement
Figure 3–49: Alternating Burst Pointer Movement
Setting Pointer to a Specific Value. With Set to Value selected, you can
move the pointer immediately to a new location, with or without a
new data flag being set. Payload data can be lost when you use jump
pointer movements of this type.
To set the new pointer value for an STS pointer:
Press Menu
Button
Select Menu
Page
Highlight
Parameter
Select Choice
Pointer Control Set Value
Pointer Value Set
to
Min 0
Max 782
Default 522
Illegal (Max + 1)
USER DEFINED
H Select Min 0 to set the pointer to location zero (points to the byte
immediately following the H3 transport overhead byte). If you
choose this setting, the pointer is moved immediately; you do not
need to press POINTER ACTION.
