Getting Started
CTS 710 SONET Test Set User Manual
1–5
CAUTION. In the next step, use only enough force to clear the front
panel trim with the plate front edge. Excessive force will cause a
permanent bow in the plate.
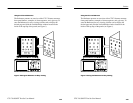
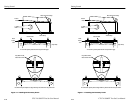
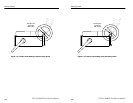
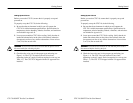
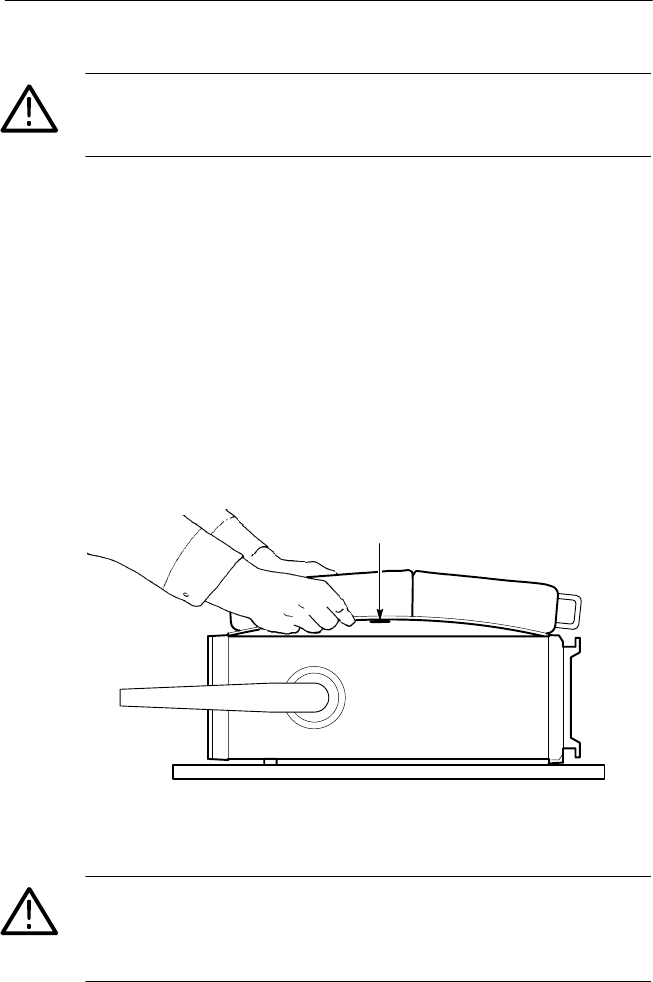
6. Push back on the pouch plate and press down with the heels of
your hands to bow the plate enough to slide the front of the plate
into the space between the cabinet top and the front panel trim
(see Figure 1–2).
7. Move the front of the pouch as needed to line up the slots in the
plate with the keys on the front panel.
8. Release the pressure on the plate to allow it to return to its normal
flat shape.
9. Press down firmly to secure the Velcro strip to the top of the
cabinet top.
Velcro Strip
Figure 1–2: Inserting the Pouch Under the Front Panel Trim
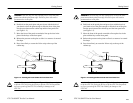
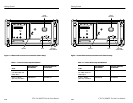
CAUTION. Do not use the D-ring (see Figure 1–3) on the pouch plate
to lift the CTS 710. Using the D-ring to lift the CTS 710 can pull the
accessory pouch off the CTS 710, resulting in damage to the
CTS 710.


