


Getting Started
CTS 710 SONET Test Set User Manual
1–9
4. Check that you have the proper electrical connections. The
CTS 710 power requirements are listed in Table 1–2.
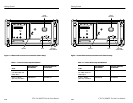
Table 1–2: Power Requirements
Voltage Range Frequency Range Maximum Power
90–132 V 48–62 Hz 250 W
180–250 V 48–62 Hz 250 W
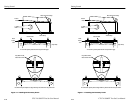
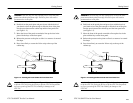
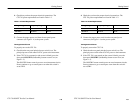
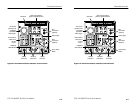
5. Connect the proper power cord from the rear-panel power
connector (see Figure 1–4) to the power system.
Turning On the CTS 710
To properly turn on the CTS 710:
1. Check that the rear-panel principal power switch is on. The
principal power switch controls all AC power to the instrument.
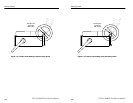
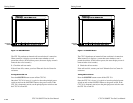
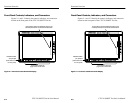
2. If the CTS 710 is not turned on (the screen is blank), press the
front-panel ON/STBY (On/Standby) button to turn it on (see
Figure 1–5).
The ON/STBY button controls power to most instrument circuits.
Power continues to go to certain parts even when this switch is
set to STBY.
Getting Started
CTS 710 SONET Test Set User Manual
1–9
4. Check that you have the proper electrical connections. The
CTS 710 power requirements are listed in Table 1–2.
Table 1–2: Power Requirements
Voltage Range Frequency Range Maximum Power
90–132 V 48–62 Hz 250 W
180–250 V 48–62 Hz 250 W
5. Connect the proper power cord from the rear-panel power
connector (see Figure 1–4) to the power system.
Turning On the CTS 710
To properly turn on the CTS 710:
1. Check that the rear-panel principal power switch is on. The
principal power switch controls all AC power to the instrument.
2. If the CTS 710 is not turned on (the screen is blank), press the
front-panel ON/STBY (On/Standby) button to turn it on (see
Figure 1–5).
The ON/STBY button controls power to most instrument circuits.
Power continues to go to certain parts even when this switch is
set to STBY.