(Thumbnail)/
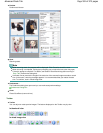
(Whole Image)
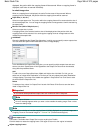
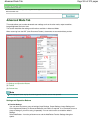
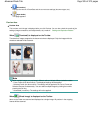
Switches the view in the Preview area.
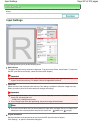
Preview Area
(Clear)
Click this button to delete the preview image.
It also resets the Toolbar and color adjustment settings.
(Crop)
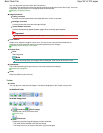
Allows you to specify the scan area by dragging the mouse.
(Move Image)
If an enlarged image is too large to fit in the Preview area, you can click this button and drag the
image across the screen until the part you want to see is displayed. You can also move the
image using the scroll bars.
(Enlarge/Reduce)
Click this button then click on the image to enlarge it (zoom in). Right-click on the image to
reduce it (zoom out).
(Rotate Left)
Rotates the preview image 90 degrees counter-clockwise.
- The result will be reflected in the scanned image.
- The image returns to its original state when you preview again.
(Rotate Right)
Rotates the preview image 90 degrees clockwise.
- The result will be reflected in the scanned image.
- The image returns to its original state when you preview again.
(Auto Crop)
Displays and adjusts the cropping frame automatically to the size of the document displayed in
the Preview area. The scan area is reduced every time you click this button if there are
croppable areas within the cropping frame.
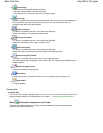
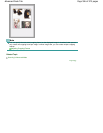
(Check All Frames)
This button is available when two or more frames are displayed.
Selects the checkbox of the image in thumbnail view.
(Uncheck All Frames)
This button is available when two or more frames are displayed.
Deselects the checkbox of the image in thumbnail view.
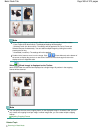
(Select All Frames)
This button is available when two or more frames are displayed.
Selects the image in thumbnail view and the image will be outlined in blue.
(Select All Cropping Frames)
This button is available when there are two or more cropping frames.
All cropping frames will be displayed in thick broken lines. The settings will be applied to all the
cropping frames.
(Remove Cropping Frame)
Removes the selected cropping frame.
Page 594 of 973 pagesAdvanced Mode Tab


