(2)
Press the
SCAN
button.
(3)
If Save to is being displayed, use the
(-) or (+) button to select PC, and
press the
OK
button.
The computer selection screen will appear.
Note
If save to is not displayed, press the
Menu
button to display it.
(4)
Select the computer to save scanned data, and press the
OK
button.
Here we select Local (USB).
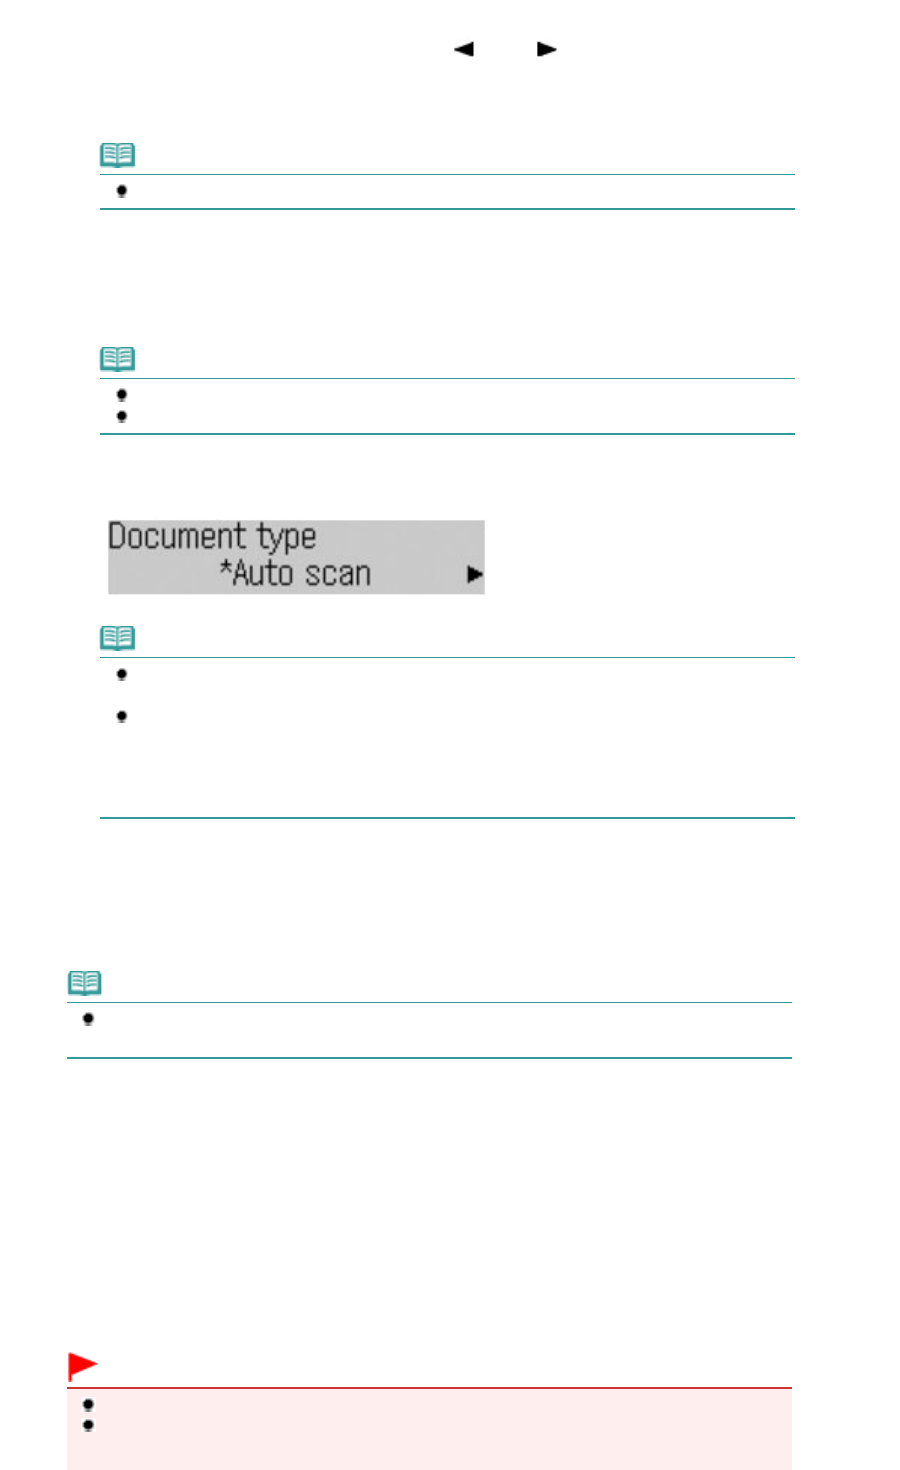
The Document type selection screen will appear.
Note
For the network connection, select the computer name to save scanned data in the list.
For the connection via USB only, only Local (USB) appears on the LCD.
(5)
Select the document type, and press the
OK
button.
Here we select Auto scan.
Note
If the computer connected over a network is selected in (4), Auto scan does not appear
on the LCD.
The document types other than Auto scan are Document and Photo. If you select other
than Auto scan, you can save scanned data on the computer according to the settings
you specified for Scan size, Data format, and Scan resolution available by pressing the
Settings button.
For details, refer to the on-screen manual:
.
2.
Load an original on the Platen Glass or in the ADF.
See Loading Originals.
For details on the types and sizes of the original which can be scanned, see
Originals You Can Load
.
Note
Characters and lines written with a light colored pen or highlight pen may not be scanned
properly.
3.
Press the
Color
or
Black
button to start scanning.
MP Navigator EX will be started, and the scanned data will be saved on the computer according to the settings
specified with MP Navigator EX.
Scanning.. will appear while scanning the original.
When scanning from the Platen Glass, each original is saved to a single file on the computer.
When scanning from the ADF with the saving format set to PDF, all documents loaded in the ADF are saved to a
single PDF file on the computer.
Remove the original on the Platen Glass or the Document Output Slot after scanning is completed.
Important
Do not turn off the power while the machine is operating.
Do not plug in or unplug the USB cable while the machine is scanning originals with the
computer.
Page 61 of 973 pagesSaving Scanned Data on the Computer
