9-20 Installation and Maintenance Volume
Octel 200/300 S.4.1 PB60019−01
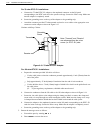
For 75-ohm DTIC−E1 installations:
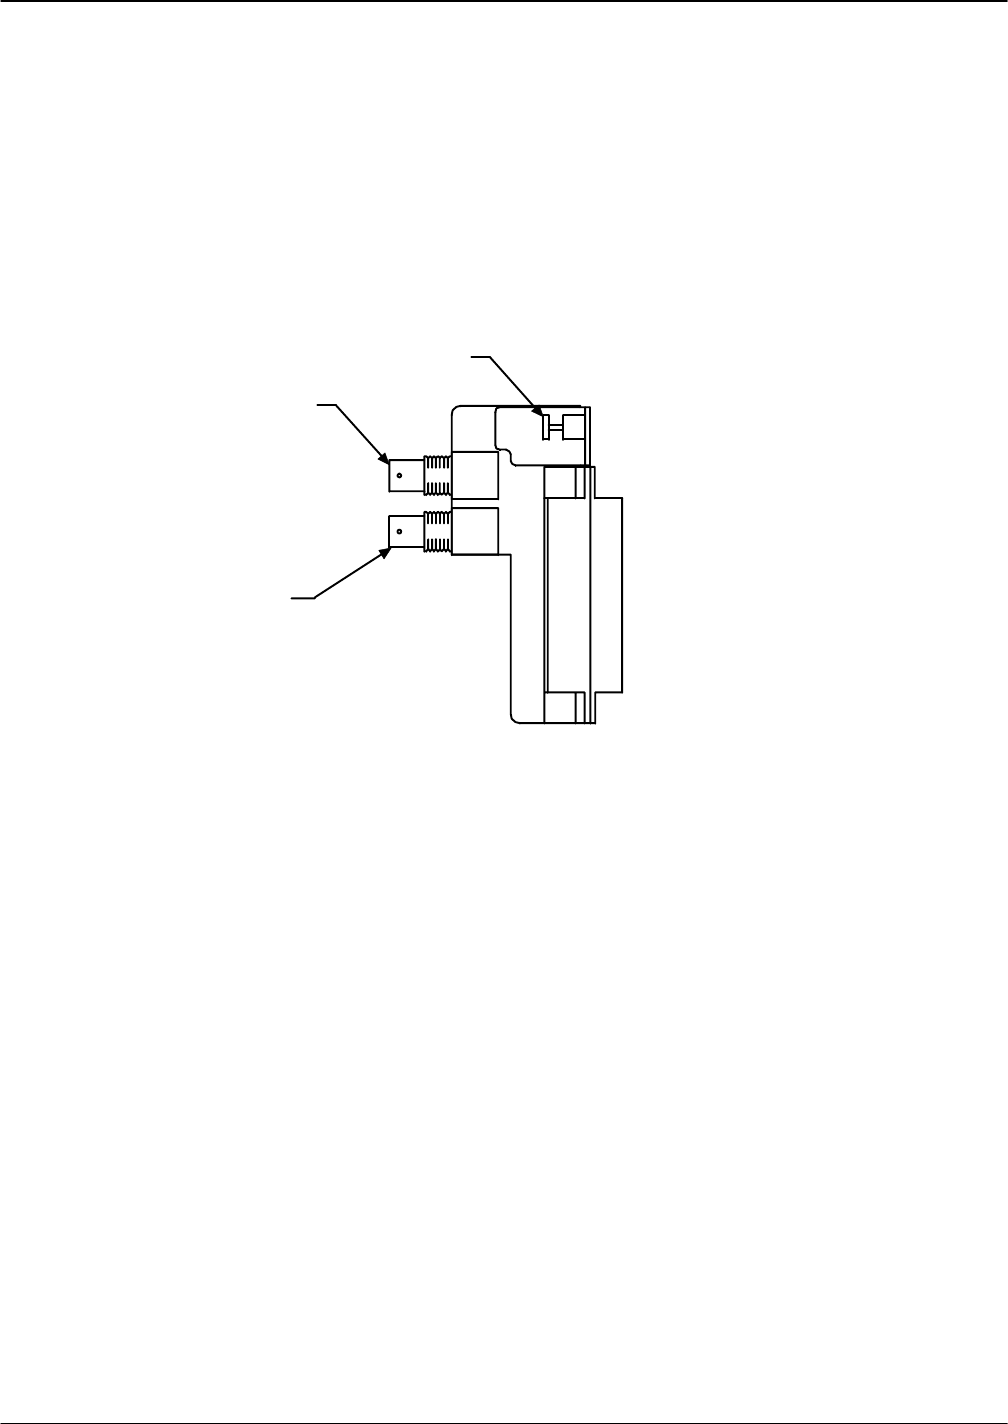
a. Connect the 75-ohm DTIC−E1 adapter to the amphenol connector on the I/O panel
corresponding to the DTIC card slot in the system card cage. Secure the Velcro strap. Make sure
that the adapter is completely seated.
b. Secure the grounding screw on the top of the adapter to the grounding strip.
c. Attach the customer-provided 75-ohm transmit and receive coax cables to the appropriate coax
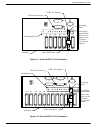
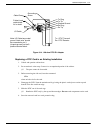
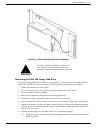
connectors on the adapter as shown in Figure 9-13.
Continue with Step 5 below.
Transmit
Receive
Note: “Transmit” and “Receive”
are referenced from the voice
server (i.e. DTIC−E1) side.
Grounding
Screw
Figure 9-13 75-ohm DTIC-E1 Adapter
For 120-ohm DTIC-E1 installations:
a. Prepare the customer-provided I/O cable as follows:
- Cut the cable jacket so that the conductors protrude approximately 1 inch (25mm) from the
end of the jacket.
- Strip approximately .25 inch (6mm) of insulation from the end of each conductor.
- Cut the shield so that a .5 inch (13mm) length of shield foil or braid can be pulled back over
the cable jacket.
. To pass regulatory requirements, shielded cable must be used.
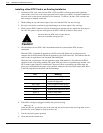
b. Connect the conductors from the I/O cable to the 120-ohm adapter as shown in Figure 9-14.
c. Secure the the cable jacket to the adapter using the clamp provided, or remove the clamp and
secure with a tie-wrap through two small rectangular cutouts. Make sure the clamp or tie−wrap
is clamped down around the shield that has been folded back around the cable jacket.
d. Connect the adapter to the amphenol connector on the I/O panel corresponding to the DTIC−E1
card slot in the card cage. Secure the Velcro strap. Make sure the adapter is completely seated.
e. Secure the grounding screw on the top of the adapter to the grounding strip.
5. Restart the message server as follows:
a. Forward the ports by entering TE C 1
b. Enter RESTA to restart the server


