9-28 Installation and Maintenance Volume
Octel 200/300 S.4.1 PB60019−01
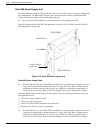
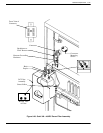
Installing Octel 300 Floppy Disk Drive
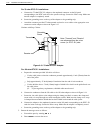
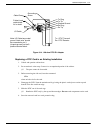
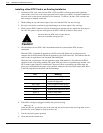
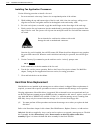
The Octel 300 floppy disk drive assembly is hot pluggable. You do not need to turn OFF the PSU. To
install a replacement floppy disk drive in the Octel 300 use the following procedure:
1. Put on an antistatic wrist strap. Connect it to an unpainted portion of the cabinet.
2. Remove the replacement floppy disk drive assembly from the shipping container.
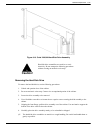
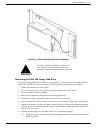
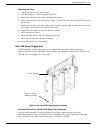
3. Hold the front flange of the drive assembly with one hand while supporting the weight of the drive
assembly with your other hand. Orient the drive assembly so that the floppy drive is to the right of
the sheet metal slider plate.
4. Guide the sheet-metal plate into the card guides marked “B5.”
5. Gently but firmly slide the drive assembly into the slot until the connector on the back of the
assembly has mated with the connector on the backplane. This is accomplished when the flange on
the front of the drive assembly sheet metal reaches or very nearly reaches the sheet metal of the
cabinet.
Caution!
Do not slam the floppy disk drive assembly into the
cabinet. This could damage the floppy disk drive.
6. Use a flat-blade screwdriver to tighten the two captive screws attached to the front flange of the drive
assembly.
7. Connect the keyed connector on the floppy drive signal cable to the connector on the CPU card.
8. Insert the configuration backup disk into the floppy disk drive.
9. Test the message server for correct operation.


