Appendix LVisual Inspection System Protocol
354
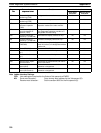
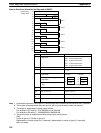
3. The ranges of measurement values are as follows:
For calibration OFF setting :–2147483.648 to 2147483.647
For calibration ON setting : –9999999.999 to 9999999.999
4. If a measurement value exceeds the range of measurement values when calibration is turned off, unde-
fined data is stored in the specified words.
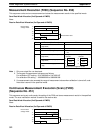
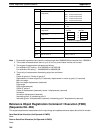
Reference Object Registration (Group) (F200)
(Sequence No. 453)
This sequence performs reference position registration and criterion registration at the same time.
Send Data Word Allocation (2nd Operand of PMCR)
None.
Receive Data Word Allocation (3rd Operand of PMCR)
None.
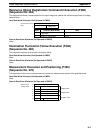
Reference Object Registration (Reference Position) (F200)
(Sequence No. 454)
This sequence registers the reference position for measuring the amount of position displacement when a position
displacement compensation is used.
Send Data Word Allocation (2nd Operand of PMCR)
None.
Receive Data Word Allocation (3rd Operand of PMCR)
None.
Reference Object Registration (Criterion) (F200)
(Sequence No. 455)
This sequence registers a reference value to discriminate the output format.
Send Data Word Allocation (2nd Operand of PMCR)
None.
Receive Data Word Allocation (3rd Operand of PMCR)
None.
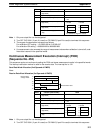
Evaluation Condition Change (F200) (Sequence No. 456)
This sequence changes the upper and lower limit values of evaluation condition of the designated output No.
Send Data Word Allocation (2nd Operand of PMCR)
Integer portion
First word of send
data
Number of send data words+0
+1
+2
+3
+4
+5
+6
+7
+8
+9
(Undefined)
Output No.
(Undefined)
Upper limit value
Decimal portion
(Undefined)
Sign
(Undefined)
Integer portion
(Undefined)
Lower limit value
Decimal portion
(Undefined)
Sign
(Undefined)


