5-3SectionUsing Protocol Macros
66
Item ProcedureRestriction
Communications
port settings on
the Board
Use the same communications port settings for the
Board as those used for the C200HX/HG/HE. The
communications port names will be as follows:
Communications Port A will be port 1 on the Board.
Communications Port B will be port 2 on the Board.
1. Double-click the PC icon while online.
2. Double-click the Communications Port
A or Communications Port B Icon in
the Project Window.
3. Make the settings in the
Communications Port Settings Dialog.
I/O memory
operations: PLC
Memory Window
Use I/O memory addresses only within the ranges
supported by the CQM1H. Do not attempt to edit
addresses IR 256 and higher in the IR Area (displayed
without the prefix) even though these addresses will be
displayed.
1. Click the PC icon and select Memory
from the pop-up menu. The PLC
Memory Window will be displayed.
2. Select the I/O memory areas and
address to be displayed or edited in the
Data Area Workspace.
The following restrictions apply when transferring I/O
memory.
When transferring from the computer to the PC, do not
select All. Use Selection or Range and specify a range
that lies between IR 000 and IR 255.
When transferring from the PC to the computer, do not
select All. Use Visible area only or Selection and
specify a range that lies between IR 000 and IR 255.
1. Double-click the memory area in the
Data Area Workspace. The PLC Data
Table will be displayed.
2. Specify the range of addresses to be
transferred if necessary.
3. Select Transfer to PLC via Online or
Transfer from PLC via Online from
the Online Menu.
Error log The error log cannot be used. If it is displayed, the
contents will not agree with the error log in the CQM1H.
---
I/O tables The I/O tables are not necessary for the CQM1H and
will be disabled. If an attempt is made to create I/O
tables, the following message will be displayed and the
I/O tables will not be created.
! The PLC does not contain an IO Table.
---
5-3 Application Procedure
1, 2, 3... 1. Turn OFF the power to the PC.
2. Install the Board.
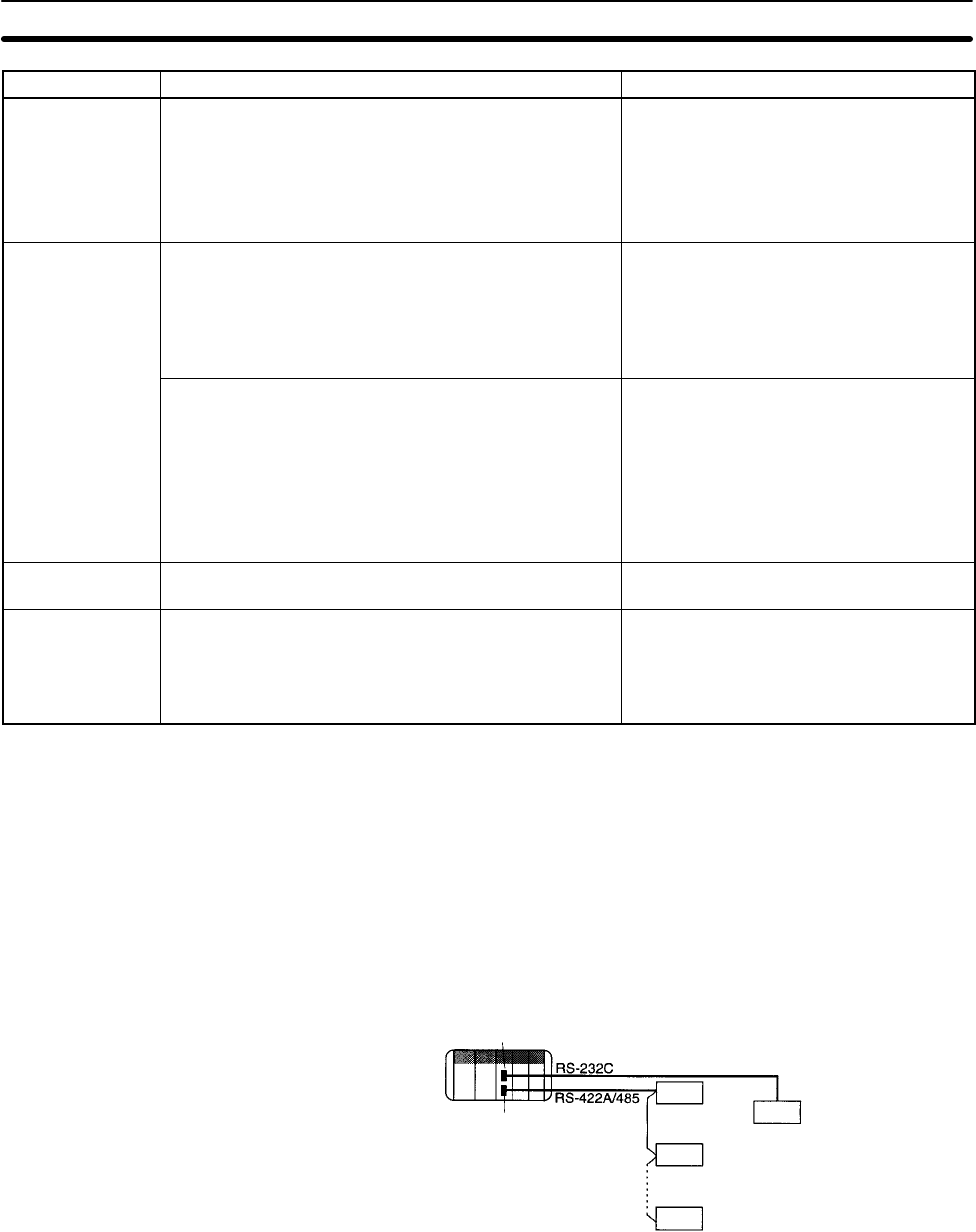
3. Connect the system.
Connect the external devices using RS-232C or RS-422 cable. The settings
of the TERM and WIRE switches on the front panel of the Board will need to
be changed if the RS-422A/485 port on the Serial Communications Board is
used.
Serial Communications Board
Terminating resistance ON
External device
External device
External device
External device
Terminating resistance ON
Connect a Programming Console, the CX-Programmer, or the CX-Protocol
to the CPU Unit as required.
4. Turn ON power to the PC.
5. Set the PC Setup settings for the Serial Communications Board.
Use the Programming Console, CX-Programmer, or CX-Protocol to set the
settings in DM 6550 to DM 6559.
