Manage Users, Authentication, and VPN Certificates
316
ProSafe Gigabit Quad WAN SSL VPN Firewall SRX5308
2. In the Upload Trusted Certificates section of the screen, click the Browse button and
navigate to the trusted digital certificate file that you downloaded on your computer.
3. Click the Upload t
able button. If the verification process on the VPN firewall approves the
digital certificate for validity and purpose, the digital certificate is added to the Trusted
Certificates (CA Certificates) table.
To delete one or more digital certificates:
1. In the
Trusted Certificates (CA Certificate) table, select the check box to the left of each
digital certificate that you want to delete, or click the Select All table button to select all
digital certificates.
2. Click the Delete t
able button.
Manage VPN Self-Signed Certificates
Instead of obtaining a digital certificate from a CA, you can generate and sign your own digital
certificate. However, a self-signed digital certificate triggers a warning from most browsers
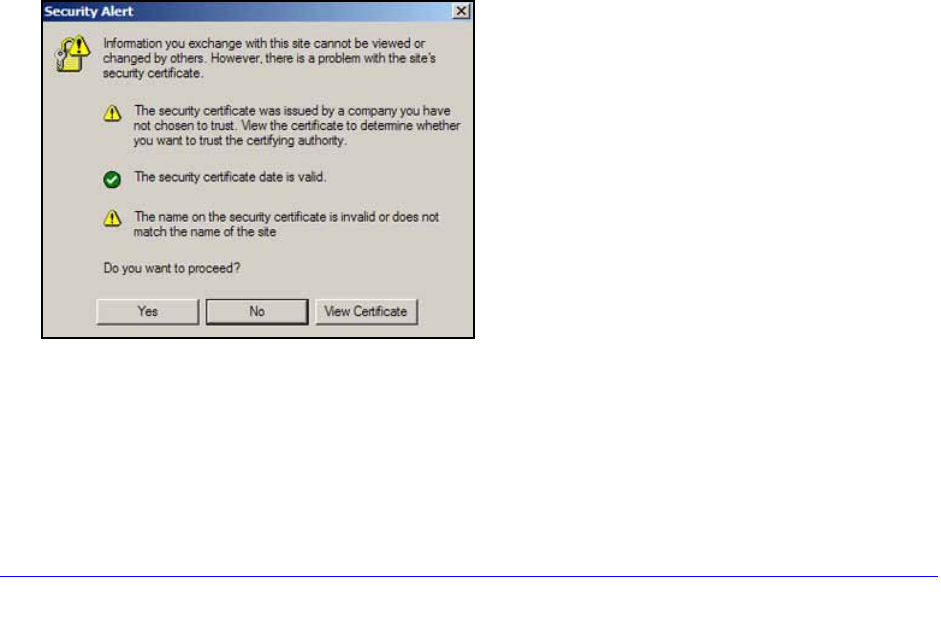
because it provides no protection against identity theft of the server. (The following figure
shows an image of a browser security alert.)
There can be three reasons why a security alert is generated for a security certificate:
• The secu
rity certificate was issued by a company you have not chosen to trust.
• The d
ate of the security certificate is invalid.
• The n
ame on the security certificate is invalid or does not match the name of the site.
When a security alert is generated, the user can decide
whether to trust the host.
Figure 209.
Generate a CSR and Obtain a Self-Signed Certificate from a CA
To use a self-signed certificate, you first need to request the digital certificate from a CA, and
then download and activate the digital certificate on the VPN firewall. To request a self-signed
certificate from a CA, you need to generate a certificate signing request (CSR) for and on the
