


Configuring Web Portal WebAAA 473
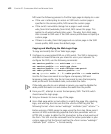
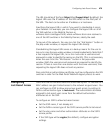
5 Save the modified page.
Filenames and paths for image source files must be relative to the HTML
page. For example, if login page mycorp-login.html and image file
mylogo.gif are located in subdirectory mycorp/, specify the image source
as mylogo.gif, not mycorp/mylogo.gif.
It is recommended to keep the form as simple as possible with a
minimum number of graphics to display.
Custom Login Page Scenario
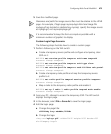
The following steps illustrate how to create a custom page:
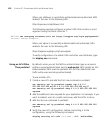
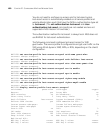
1 Perform following on the WX switch:
a Create a temporary service profile and configure a temporary, clear
SSID on it:
WX1200# set service-profile tempsrvc ssid-name tempssid
success: change accepted.
WX1200# set service-profile tempsrvc ssid-type clear
success: change accepted.
WX1200# set service-profile tempsrvc auth-fallthru web-portal
success: change accepted.
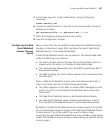
b Create a temporary radio profile and map the temporary service
profile to it:
WX1200# set radio-profile temprad service-profile tempsrvc
success: change accepted.
c Map a radio to the temporary radio profile and enable it:
WX1200# set ap 2 radio 1 radio-profile temprad mode enable
success: change accepted.
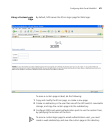
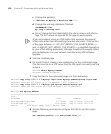
2 From your PC, attempt to access the temporary SSID. The WX switch
displays the login page.
3 In the browser, select File > Save As to save the login page.
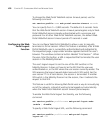
4 Edit the login page:
a Change the page title:
<TITLE>My Corp webAAA</TITLE>
b Change the logo:
<img src="mylogo.gif" width="143" height="65" border="0"
alt="Company Logo">