


Upgrading the System Image 617
Upgrading an
Individual Switch
Using the CLI
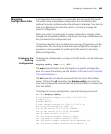
1 Save the configuration, using the save config command.
2 Back up the switch, using the backup system command.
3 Copy the new system image onto a TFTP server.
For example, log in to http://www.3com.com using a web browser on
your TFTP server and download the image onto the server.
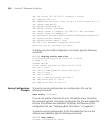
4 Copy the new system image file from the TFTP server into a boot partition
in the switch’s nonvolatile storage.
You can copy the image file only into the boot partition that was not used
for the most recent restart. For example, if the currently running image
was booted from partition 0, you can copy the new image only into
partition 1.
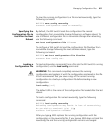
5 Set the boot partition to the one with the upgrade image for the next
restart.
To verify that the new image file is installed, type display boot.
6 Reboot the software.
To restart a WX switch and reboot the software, type the following
command:
reset system [force]
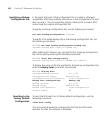
When you restart the WX switch, the switch boots using the new MSS
image. The switch also sends the MAP version of the new boot image to
MAPs and restarts the MAPs. After a MAP restarts, it checks the version
of the new MAP boot image to make sure the boot image is newer than
the boot image currently installed on the MAP. If the boot image is newer,
the MAP completes installation of its new boot image by copying the
boot image into the MAP’s flash memory, which takes about 30 seconds,
then restarts again. The upgrade of the MAP is complete after the second
restart.