


254 | CaptivePortalAuthentication DellPowerConnectW-SeriesArubaOS6.2 | User Guide
Web Client Configuration with Proxy Script
If the web client proxy configuration is distributed through a proxy script (a .pac file), you need to configure the
captiveportal policy to allow the client to download the file. Note that in order modify the captiveportal policy, you
must have the PEFNG license installed in the controller.
To allow clients to download proxy script via the WebUI:
1. Edit the captiveportal policy by navigating to the Configuration > Security > Access Control > Policies page.
2. Add a new rule with the following values:
n Source is user
n Destination is host
n Host IP is the IP address of the proxy server
n Service is svc-https or svc-http
n Action is permit
3. Click Add to add the rule. Use the up arrows to move this rule above the rules that perform destination NAT.
4. Click Apply.
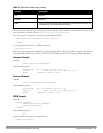
To allow clients to download proxy script via the command-line interface, access the CLI in config mode and issue
the following commands:
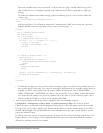
(host)(config) #ip access-list session captiveportal
user alias mswitch svc-https permit
user any tcp port dst-nat 8088
user host ipaddr svc-https permit
user any svc-http dst-nat 8080
user any svc-https dst-nat 8081
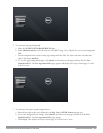
Personalizing the Captive Portal Page
The following can be personalized on the default captive portal page:
l Captive portal background
l Page text
l Acceptance Use Policy
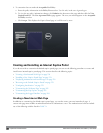
The background image and text should be visible to users with a browser window on a 1024 by 768 pixel screen. The
background should not clash if viewed on a much larger monitor. A good option is to have the background image at
800 by 600 pixels, and set the background color to be compatible. The maximum image size for the background can
be around 960 by 720 pixels, as long as the image can be cropped at the bottom and right edges. Leave space on the
left side for the login box.
You can create your own web pages and install them in the controller for use with captive portal. See “Internal
Captive Portal” on page265
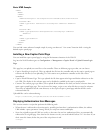
1. Navigate to the Configuration > Management > Captive Portal > Customize Login Page page.
You can choose one of three page designs. To select an existing design, click the first or the second page design
present.