


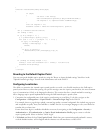
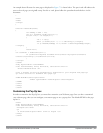

An example that will create the same page as displayed in Figure 72 is shown below. The part in red will redirect the
user to the web page you originally setup. For this to work, please follow the procedure described above in this
document.
:
<html>
<head>
<script>
{
function readCookie(name)
{
var nameEQ = name + "=";
var ca = document.cookie.split(';');
for(var i=0;i < ca.length;i++)
{
var c = ca[i];
while (c.charAt(0)==' ') c = c.substring(1,c.length);
if (c.indexOf(nameEQ) == 0) return c.substring(nameEQ.length,
c.length);
}
return null;
}
var cookieval = readCookie('url');
if (cookieval.length>0) document.write("<meta http-equiv=\"refresh\"
content=\"2;url=http://"+cookieval+"\""+">");
}
</script>
</head>
<body bgcolor=white text=000000>
<font face="Verdana, Arial, Helvetica, sans-serif" size=+1>
<b>User Authenticated </b>
<p>In 2 seconds you will be automatically redirected to your original web page</p>
<p> Press control-d to bookmark this page.</p>
<FORM ACTION="/auth/logout.html">
<INPUT type="submit" name="logout" value="Logout">
</FORM>
</font>
</body>
</html>
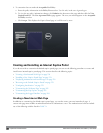
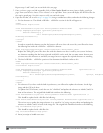
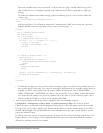
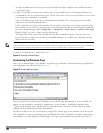
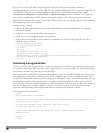
Customizing the Pop-Up box
In order to customize the Pop-Up box, you must first customize your Welcome page. Once you have customized
your welcome page, then you can configure your custom page to use a pop-up box. The default HTML for the pop-
up box is:
<html>
<body bgcolor=white text=000000>
<font face="Verdana, Arial, Helvetica, sans-serif" size=+1>
<b>Logout</b></font>
<p>
<a href="/auth/logout.html"> Click to Logout </a>
</body>
</html>
DellPowerConnectW-SeriesArubaOS6.2 | User Guide CaptivePortalAuthentication | 263