


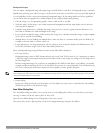
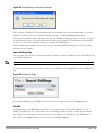

Figure 392: Export Buildings Confirmation Dialog Box
When exporting a building file, Dell recommends that you click OK to export the background images. If you click
Cancel, the exported file does not include the background images. The File Download window appears.
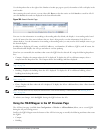
From the File Download window, click Save to save the file. The Save As dialog box appears. From here, navigate to
the location where want to save the file and enter the name for the exported file. When naming your exported file,
be sure to give the file the
.XML
file extension, for example,
My_Building.XML
.
Exported building files include the name of the campus to which the building belongs; however, detailed campus
parameters are not included.
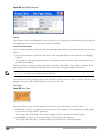
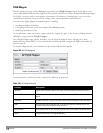
Import Buildings Page
You can import only XML files exported from another controller or from the standalone version of RF Plan that runs
as a Windows application.
NOTE: Importing any other file, including XML files from other applications, may result in unpredictable results.
To import a file that defines the parameters of one or more buildings, click the Import button in the Building List
page.
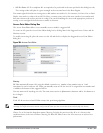
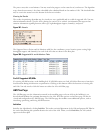
Figure 393: Buildings List Page
In the Import Buildings page, click Browse to select the file to be imported, then click the Import button.
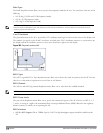
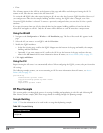
Locate
The Locate button on the Building List page allows you to search for APs, AMs, monitored clients, etc. on a
building by building basis. To use this feature, select the building in which you want to search, and click Locate.
The Target Devices table displays information on each of these devices. To add a device, click Add Device. To
delete a device, click Remove Device. To select a device, click Choose Devices.
DellPowerConnectW-SeriesArubaOS6.2 | User Guide RF Plan | 815