763 | ExternalServicesInterface DellPowerConnectW-SeriesArubaOS6.2 | User Guide
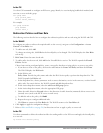
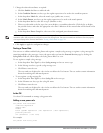
b. Server Group. Use the drop-down list to assign this server to a group from the existing configured groups.
(This example uses fortinet.)
c. Server Mode. Use the drop-down list to choose the mode (bridge, nat, or route) your topology requires. Refer
to the description above to understand the differences between the modes. (This example uses route mode.)
d. Trusted IP Address. Enter 10.168.172.3.)
e. Untrusted IP Address. Enter 10.168.171.3.)
4. Click Done when you are finished.
5. Click Apply to apply the configuration changes.
In the CLI
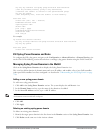
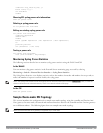
Use these CLI commands to configure an ESI server and identify its associated attributes:
esiserverserver_identity
dportdestination_tcp/udp_port
mode{bridge|nat|route}
trusted-ip-addrip-addr [health-check]
trusted-portslot/port
untrusted-ip-addrip-addr [health-check]
untrusted-portslot/port
For example:
esiserverforti_1
moderoute
trusted-ip-addr10.168.172.3
untrusted-ip-addr10.168.171.3
Defining the ESI Server Group
The following sections describe how to configure an ESI server group using the WebUI and CLI.
In the WebUI
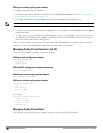
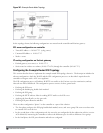
To configure an ESI server group on the controller:
1. Navigate to the Configuration > Advanced Services > External Services page.
2. Click Add in the Server Groups section.
3. Provide the following details:
a. Enter a Group Name. Enter fortinet.)
b. In the drop-down list, select default as the health check profile.
4. Click Done when you are finished.
5. Click Apply to apply the configuration changes.
In the CLI
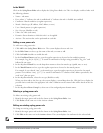
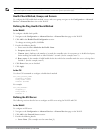
Use these CLI commands to configure an ESI server group, identify its associated ping health-check method, and
associate a server with this group:
esigroupname
pingprofile_name
serverserver_identity
For example:
esigroupfortinet
pingdefault
serverforti_1


