


80 |ControlPlaneSecurity DellPowerConnectW-SeriesArubaOS6.2 | User Guide
Control Plane Security Overview
Controllers using control plane security only send certificates to APs that you have identified as valid APs on the
network. If you want closer control over each AP that gets certified, you can manually add individual campus and
remote APs to the secure network by adding each AP's information to the whitelists when you first run the initial
setup wizard. If you are confident that all APs currently on your network are valid APs, then you can use the initial
setup wizard to configure automatic certificate provisioning to send certificates from the controller to each campus
or remote AP, or to all campus and remote APs within specific ranges of IP addresses.
The default automatic certificate provisioning setting requires that you manually enter each campus AP’s
information into the campus AP whitelist, and each remote APs information into the remote AP whitelist. If you
change the default automatic certificate provisioning values to let the controller send certificates to all APs on the
network, that new setting ensures that all valid APs receive a certificate, but also increases the chance that a rogue or
unwanted AP is also certified. If you configure the controller to send certificates to only those APs within a range of
IP addresses, there is a smaller chance that a rogue AP gets a certificate, but any valid AP with an IP address outside
the specified address ranges will not get a certificate and can not communicate with the controller (except to obtain
a certificate). Consider both options carefully before you complete the control plane security portion of the initial
setup wizard. If your controller has a publicly accessible interface, you should identify the APs on the network by IP
address range. This prevents the controller from sending certificates to external or rogue campus APs that may
attempt to access your controller through that publicly accessible interface.
Configuring Control Plane Security
When you initially deploy the controller, you create your initial control plane security configuration using the initial
setup wizard. These settings can be changed at any time using the WebUI or the command-line interfaces.
NOTE: If you are configuring control plane security for the first time after upgrading from ArubaOS 5.0 or earlier, see "Configuring
Control Plane Security after Upgrading" on page 97 for details on enabling this feature using the WebUI or CLI.
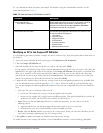
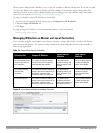
In the WebUI
1. Access the WebUI of a standalone or master controller, and navigate to Configuration>Network>Controller.
2. Select the Control Plane Security tab.
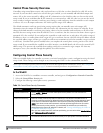
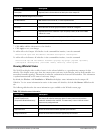
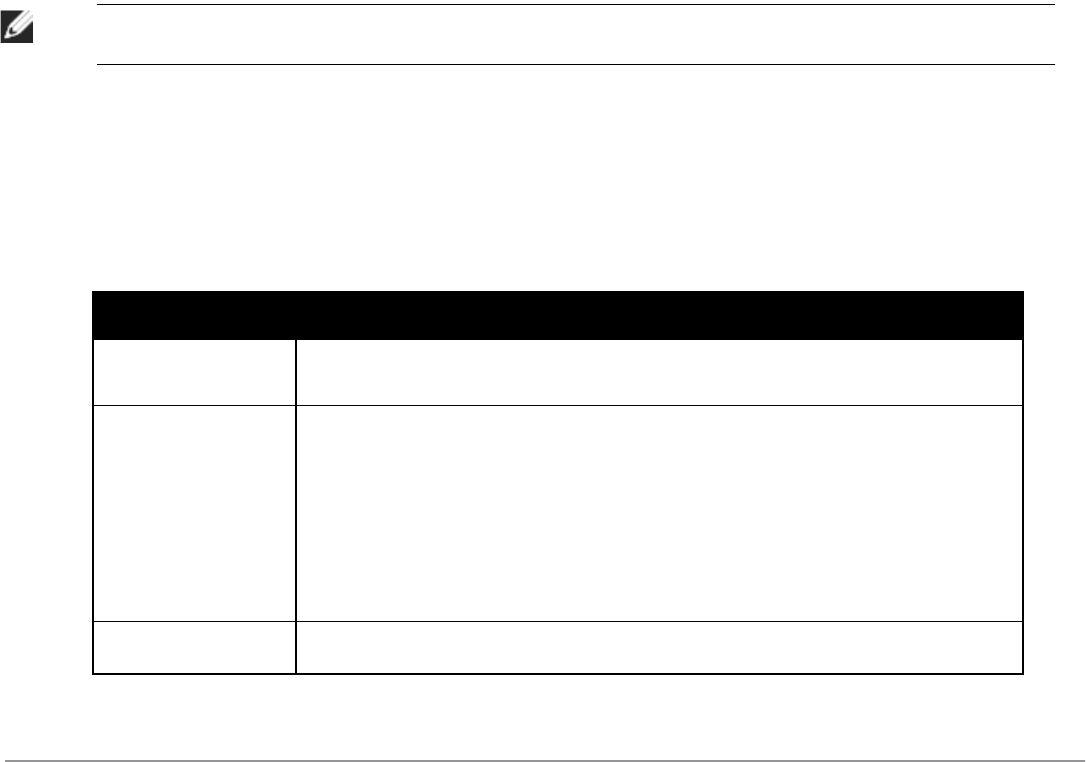
3. Configure the following control plane security parameters.
Parameter Description
Control Plane Security Select enable or disable to turn the control plane security feature on or off. This feature is
enabled by default.
Auto Cert Provisioning When the control plane security feature is enabled, you can select this checkbox to turn on
automatic certificate provisioning. When this feature is enabled, the controller attempts to send
certificates to all associated campus APs. Auto certificate provisioning is disabled by default.
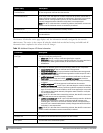
NOTE: If you do not want to enable automatic certificate provisioning the first time you enable
control plane security on the controller, you must identify the valid APs on your network by
adding those to the campus AP whitelist. For details, see "Viewing and Managing the Master or
Local Switch Whitelists" on page 88.
After you have enabled automatic certificate provisioning, you must select either Auto Cert Allow
all or Addresses Allowed for Auto Cert.
Addresses allowed for The Addresses Allowed for Auto Cert section allows you to specify ehter certificates should be
Table 11:
Control Plane Security Parameters