


820 | RF Plan DellPowerConnectW-SeriesArubaOS6.2 | User Guide
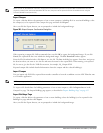
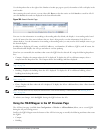
4. Click Save. A dialog box appears that indicates the new building was saved successfully. Click OK to close the
dialog box.
5. Click Building Dimension. The Specification page appears.
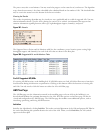
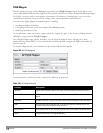
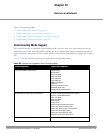
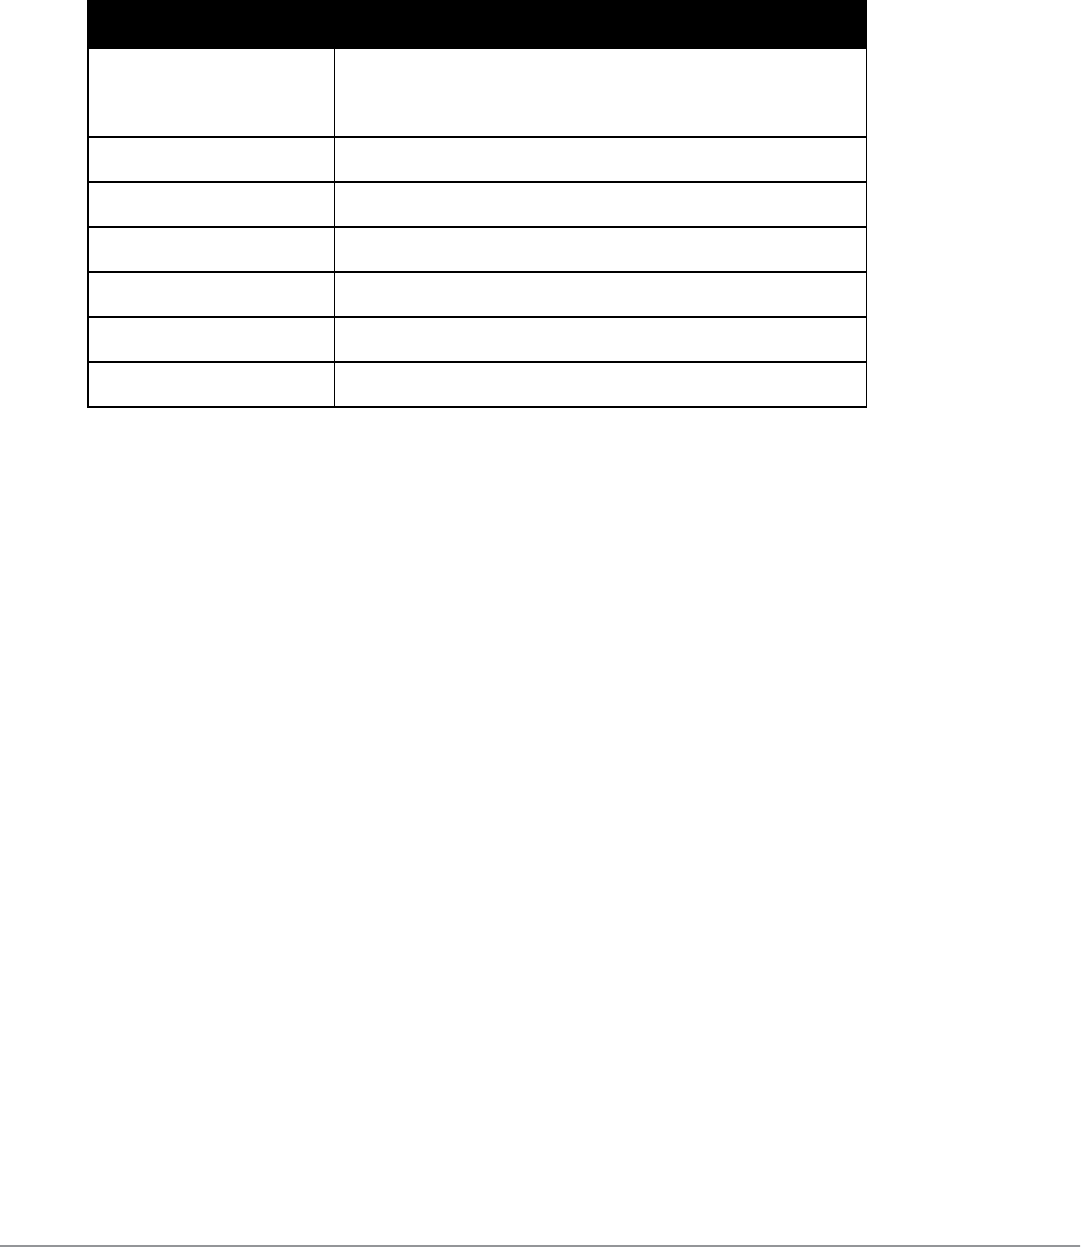
6. Enter the following information in the text boxes.
Text Box Information
Campus Name My Campus
(The name is automatically populated based on what you entered in
step 1 on page 819)
Building Name My Building
Width 100
Length 100
Inter Floor Height 20
Units Feet
Floors 2
Table 398:
Create a Building
7. Click Save. A dialog box appears that asks if you want to save and reload this building now since the building
name was changed. Click OK to accept.
Another dialog box appears stating that the building was saved successfully. Click OK to close the dialog box.
8. Click Apply. RF Plan returns you to the Overview page.
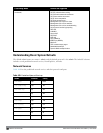
Model the Access Points
You now determine how many APs are required to cover your building with a specified data transfer rate and overlap.
In this example, you use the Coverage Model. The following are assumed about the performance of the WLAN:
l Radio Types: 802.11a/b/g/n
l AP Type: AP-93
l Overlap factor: Medium (150%)
l 802.11a desired rate: 48 Mbps
l 802.11b desired rate: 48 Mbps
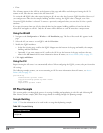
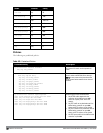
1. From the navigation tree, Click on Modeling:AP under Building Specification. The AP Modeling Parameters
page appears.
2. Select 801.11 a|b|g|n from the Radio Type drop-down menu.
3. Select Medium from the Overlap Factor drop-down menu.
4. Notice that the percentage show at the left of the drop-down menu changes to 150%.
5. Select 48 from the 802.11 b|g Desired Rate drop-down menu.
6. Select 48 from the 801.11 a Desired Rate drop-down menu.
7. Click Save, then OK.
8. Click Apply. RF Plan moves to the AM Modeling Parameters page.