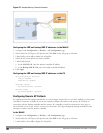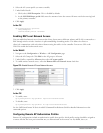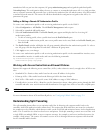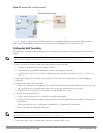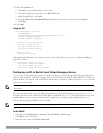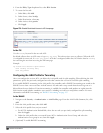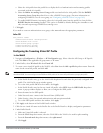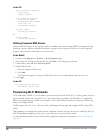
a. Select the AAA profile from the profile list to display the list of authentication and accounting profiles
associated with the AAA profile.
b. Select the Radius Accounting Server Group profile associated with the AAA profile. Click the RADIUS
Accounting Server Group drop-down list to select a RADIUS server group. (For more information on
configuring a RADIUS server or server group, see "Configuring a RADIUS Server" on page 169.)
c. To enable RADIUS Interim Accounting, select the AAA profile name from the profile list, then click the
RADIUS Interim Accounting checkbox. This option is disabled by default, allowing the controller to send
only
start
and
stop
messages RADIUS accounting server.
5. ClickApply.
If you need to create an authentication server group, select new and enter the appropriate parameters.
Inthe CLI
aaa profile <name>
authentication-dot1x <dot1x-profile>
dot1x-default-role <role>
dot1x-server-group <group>
radius-accounting <group>
radius-interim-accounting
Configuring the Tunneling Virtual AP Profile
In the WebUI
1. Navigate to Configuration > Wireless > AP Configuration page. Select either the AP Group or AP Specific
tab. Click Edit for the applicable AP group name or AP name.
2. Under Profiles, select Wireless LAN, then Virtual AP.
3. To create a new virtual AP profile in the WebUI, select New from the Add a profile drop-down menu. Enter the
name for the virtual AP profile, and click Add.
NOTE: Whenever you create a new virtual AP profile in the WebUI, the profile automatically contains the “default” SSID profile with
the default ESSID. You must configure a new ESSID and SSID profile for the virtual AP profile before you apply the profile.
a. In the Profile Details entry, go to the AAA Profile drop-down list and select the previously configured AAA
profile. The AAA Profile pop-up window appears.
b. To set the AAA profile and close the window, click Apply.
c. In the Profile Details entry for the new virtual AP profile, select NEW from the SSID Profile drop-down
menu. A pop-up window displays to allow you to configure the SSID profile.
d. Enter the name for the SSID profile.
e. Under Network, enter a name in the Network Name (SSID) field.
f. Under Security, select the network authentication and encryption methods.
g. To set the SSID profile and close the window, click Apply.
4. Click Apply at the bottom of the Profile Details window.
5. Click the new virtual AP name in the Profiles list or the Profile Details to display configuration parameters.
6. Under Profile Details:
a. Make sure Virtual AP enable is selected.
b. From the VLAN drop-down menu, select the VLAN ID for the VLAN to be used for split tunneling.
c. From the Forward mode drop-down menu, select split-tunnel.
d. Click Apply.
DellPowerConnectW-SeriesArubaOS6.2 | User Guide RemoteAccessPoints | 540


