COPYRIGHT
©
1999 CANON INC. CANON imageRUNNER 600 REV.1 JAN. 2000 PRINTED IN U.S.A.
11-9
CHAPTER 11 INSTALLATION
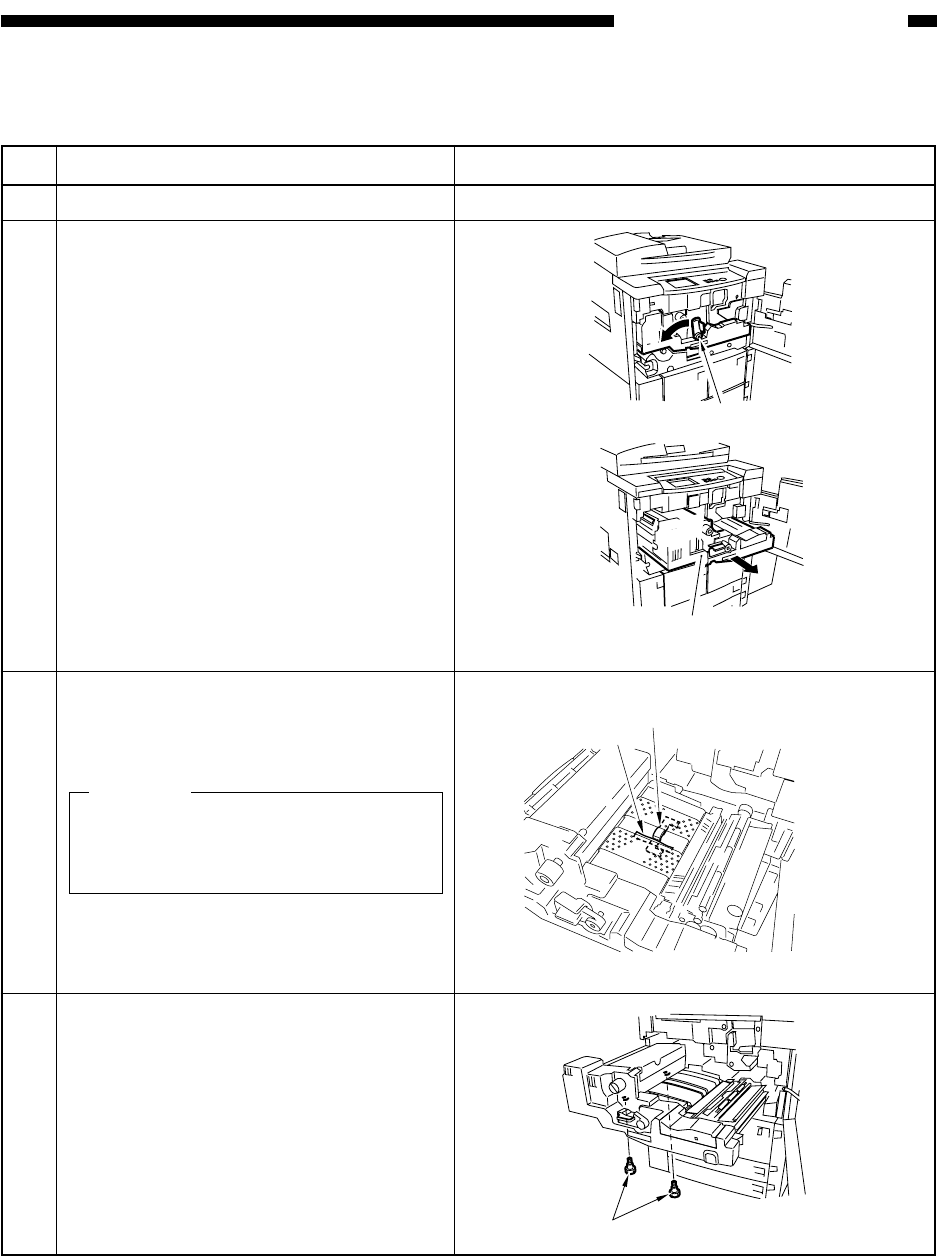
C. Mounting the Fixing Assembly
No.
1
2
3
4
Work
Open the front door.
Shift down the fixing/feeding assembly
releasing lever in the direction of the
arrow (left), and unlock the transfer/
separation charging assembly.
Slide out the fixing/feeding unit to the
front.
Remove the tag and the separation
assembly releasing member from above
the fixing/feeding assembly.
Caution:
Be sure to remove all traces of glue
(from tape) and foreign matter from
the feeding belt.
Remove the tag retaining tape, and
remove the two fixing nip releasing
screws at the front and the rear.
Remarks
Fixing/feeding unit
Fixing/feeding assembly releasing lever
Separation assembly
releasing member
Tape
Screws


