COPYRIGHT
©
1999 CANON INC. CANON imageRUNNER 600 REV.1 JAN. 2000 PRINTED IN U.S.A.
11-29
CHAPTER 11 INSTALLATION
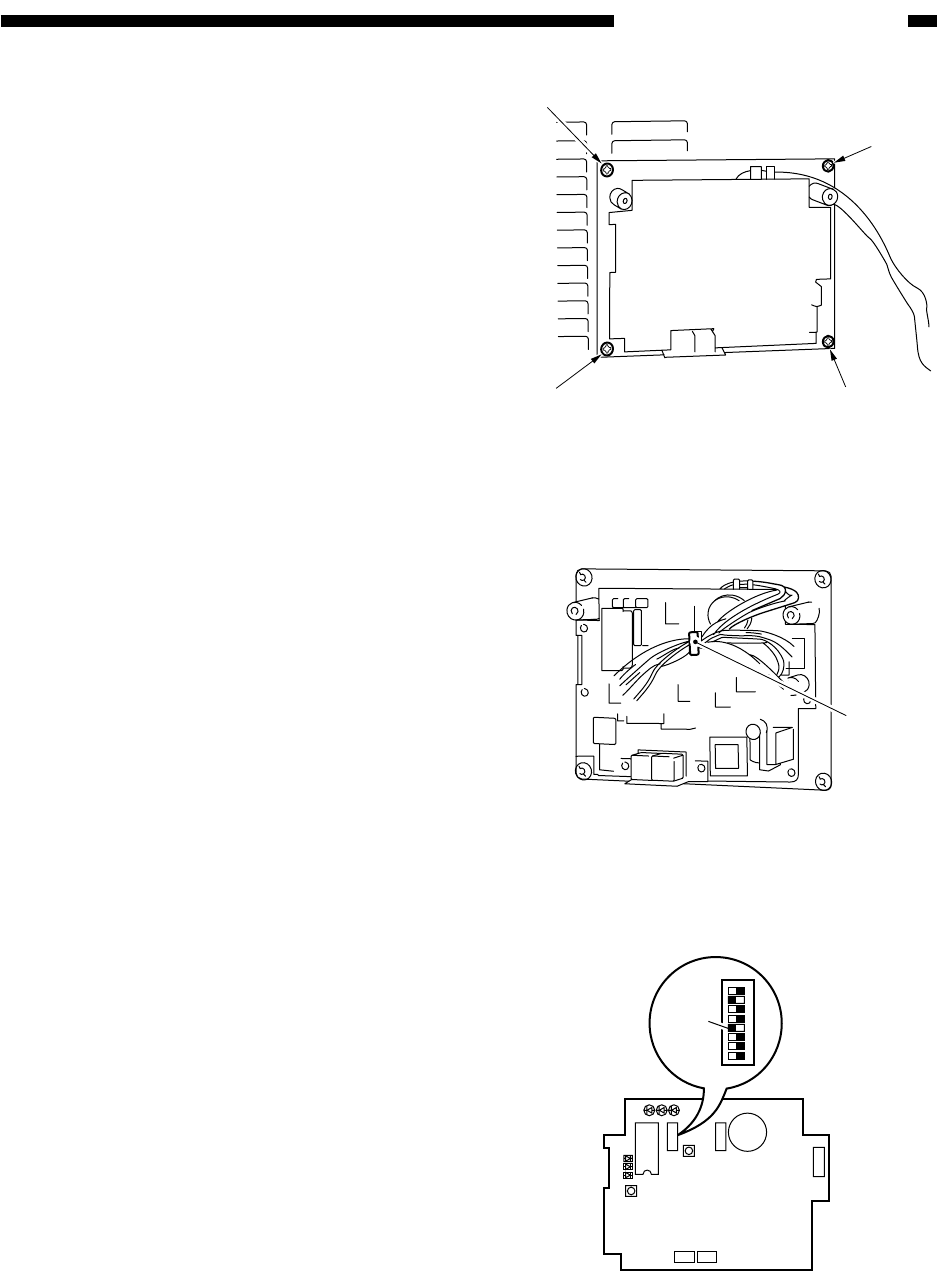
5) Secure the controller in place on the
copier's rear cover with four screws [8]
(that come with the unit).
6) Remove the slack from the cable between
the copier and the controller; bundle the
excess length of the cable, and secure it in
place with the harness band [9].
7) Shift SW2-4 [10] of the DIP switch to ON
(so as to select IPC for communication
between controller and copier).
Figure 11-505
Figure 11-506
Figure 11-507
[8]
[8]
[8]
[8]
[9]
LED1LED2LED3
2
1
LED5
LED6
LED4
IC6
SW1
SW4
SW3
6
1
BAT1
CN4
1
2
CN3 CN2
12345678
SW2
[10]


