


High-performance Embedded Workshop 4. Using the Editor
REJ10J1837-0100 Rev.1.00 Nov. 16, 2008
98
To use spaces as tabs
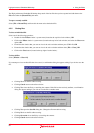
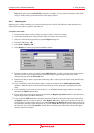
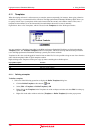
1. Select [Setup -> Options]. The Options dialog box opens.
2. Select the Editor tab.
3. Set the Use spaces as tabs checkbox as appropriate.
4. Click the OK button for the new tab settings to take effect.
4.7.3 Auto indentation
Wh
en you press Enter the editor, the insertion cursor will move to the next line down, at the first column (i.e. against
the left-hand side of the window). Auto Indentation is a feature which, when RETURN is pressed, places the insertion
cursor on the next line (as before) but under the first non-whitespace character of the previous line. This enables you to
type neat C/C++ or assembler code faster as you don’t have to type leading spaces or tabs yourself.
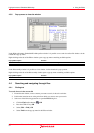
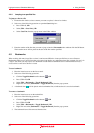
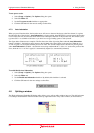
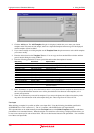
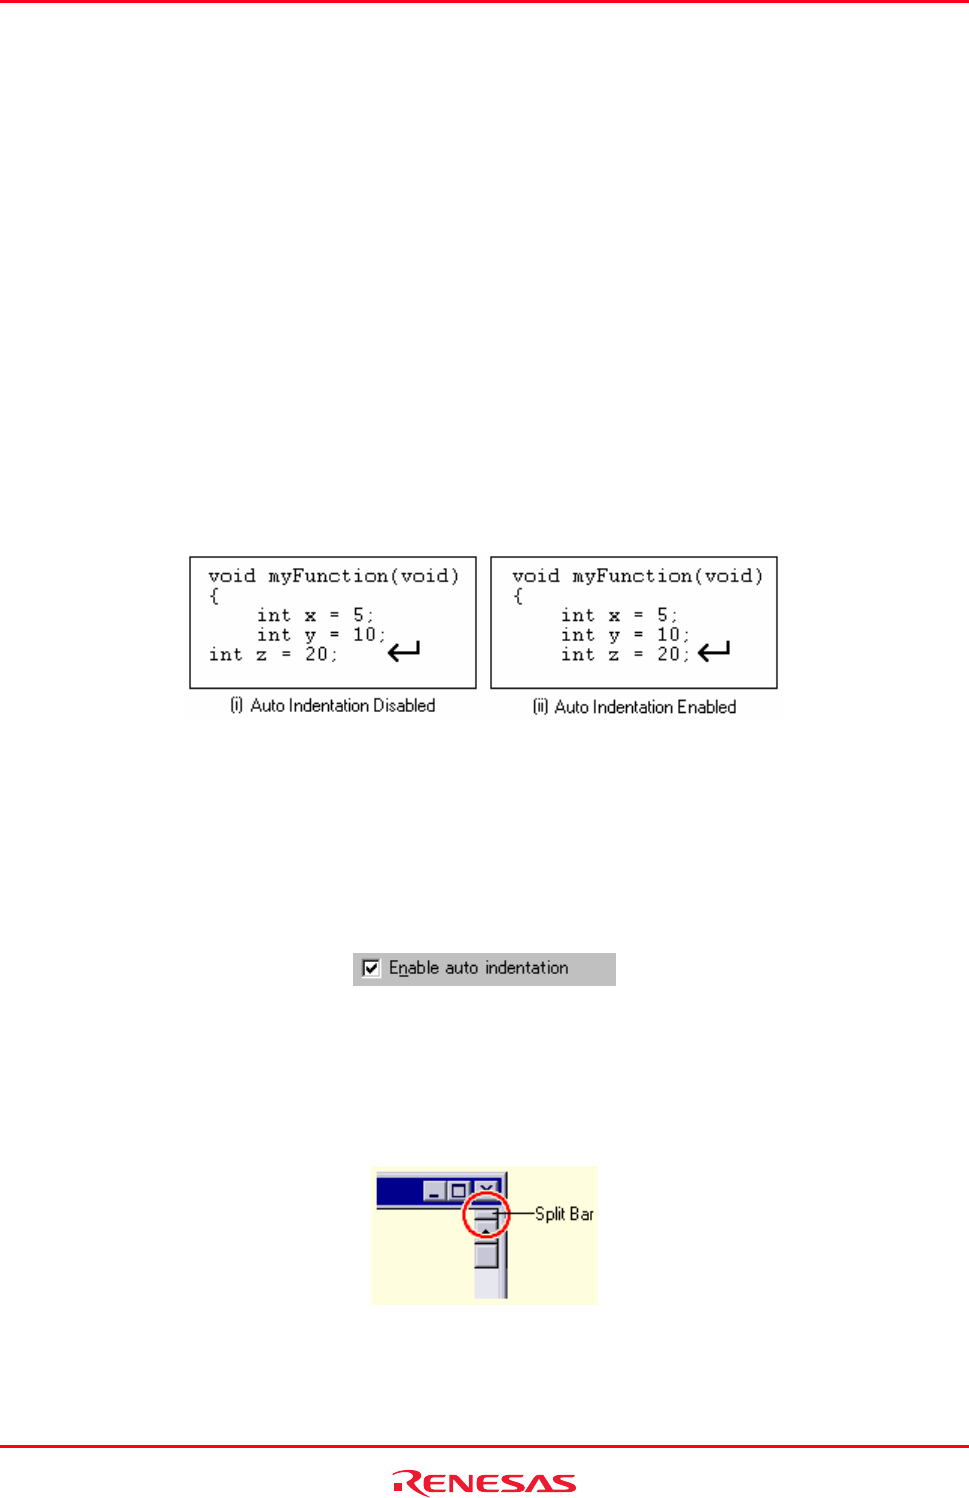
The figure below illustrates two examples. The first shows the effect of pressing Enter when the Auto Indentation
feature is disabled – the insertion cursor returns to the left-hand side of the window on the next line. When the ‘
int z =
20
’ line is typed, it is not aligned with the previous two lines. The second example shows the effect of pressing Enter
when Auto Indentation is enabled – the insertion cursor drops underneath the ‘
i’ of the ‘int’ word on the previous line.
Now, when the ‘
int z = 20’ line is typed, it is automatically aligned (i.e. automatically indented).
To enable/disable Auto Indentation
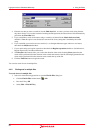
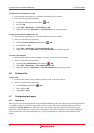
1. Select [Setup -> Options]. The Options dialog box opens.
2. Select the Editor tab.
3. Set the Enable auto indentation checkbox. By default, this checkbox is selected.
4. Click the OK button for the new settings to take effect.
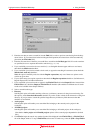
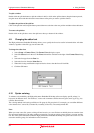
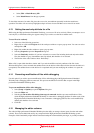
4.8 Splitting a window
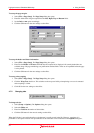
The High-performance Embedded Workshop editor allows you to split an editor window into two. The split bar button
is located just underneath the maximize button at the top right-hand corner of any editor window (as shown below).