


High-performance Embedded Workshop 16. Using the Test Support Facility
REJ10J1837-0100 Rev.1.00 Nov. 16, 2008
237
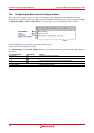
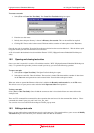
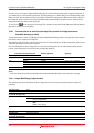
3. Click the Import button to open the Import the Test Image File dialog box. Browse to the HIF file location.
The settings of an existing test image file are imported.
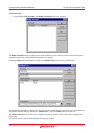
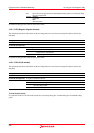
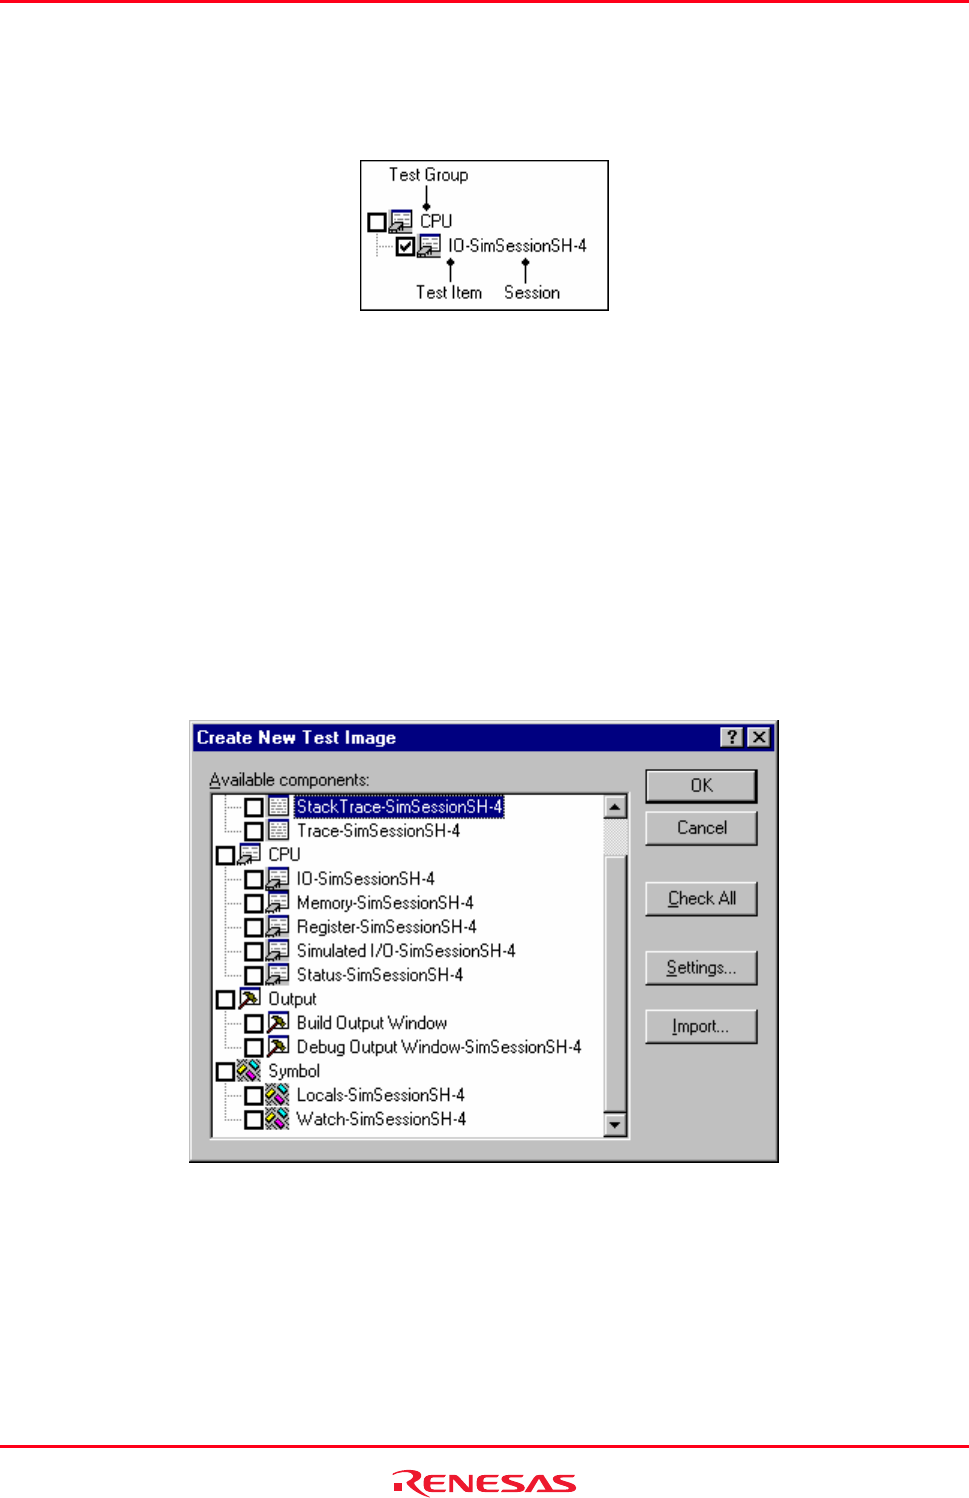
4. Each component is listed in the dialog box. Check the checkbox next to the component name to save data for
that component.
5. Select the component in the dialog and then click the Settings button. A dialog box will be displayed that is
dependent on the selected component. This will allow you to customize the data that is saved to the file. For
details, see section 16.6, Functions that can be saved as test-image data into test-image files.
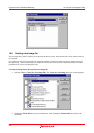
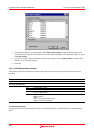
6. Clicking OK will dismiss the dialog and store the changes that you have set up.
7. The Save Test Image File dialog box opens.
8. Save the data into the High-performance Embedded Workshop test-image file selected in the Add New Test
dialog box or a new High-performance Embedded Workshop test-image file. Only test-image data of the
selected test items (with tick marks in checkboxes) will be saved into the file.
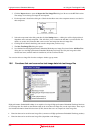
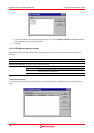
You can also edit a test image file from the workspace window pop-up menu.
16.6 Functions that can be saved as test-image data into test-image files
High-performance Embedded Workshop is not capable of saving all High-performance Embedded Workshop functions
as test-image data. For details on the functions that can be saved into test-image files, see the topics below. These topics
also include information about failed test items (FAIL) shown after test or at comparison of test-image files.
• Functions that can be saved into test-image files (common to all High-performance Embedded Workshop products)
• Functions that can be saved into test-image files (dependent on the debugger)