


High-performance Embedded Workshop 10. Sharing Projects by Network Facilities
REJ10J1837-0100 Rev.1.00 Nov. 16, 2008
174
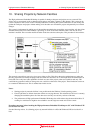
10.2 Enabling network facilities to share projects
To use network facilities to share projects
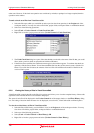
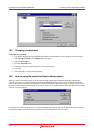
1. Select [Setup -> Options]. The Options dialog box opens.
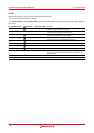
2. Select the Network tab.
3. Click the Enable network data access checkbox. This should add an administrator to the system without a
password. The administrator is the only user that can add additional users to the system and change user access
rights. The administrator has the highest level of access.
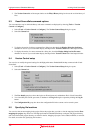
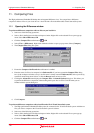
4. Before leaving the network dialog the administrator must set their password. It is not possible to leave this
dialog box until this is completed. This is described in the following section.
5. Close the Options dialog box.
6. When the dialog box is closed you are asked if you want to save the workspace and then re-open it. This is
because the workspace must be re-opened in the shared access mode. If the changes are not saved then they
will be lost. Click OK to share projects by network facilities.
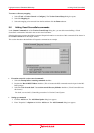
7. When you re-open the workspace and log into the system, a dialog is displayed showing your current access
rights. For example if you are the admin user the level will be administrator. When this dialog is closed the
High-performance Embedded Workshop server window is opened and the network facilities to share projects
are enabled.
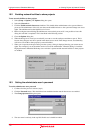
10.3 Setting the administrator user's password
To set the administrator users password
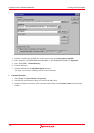
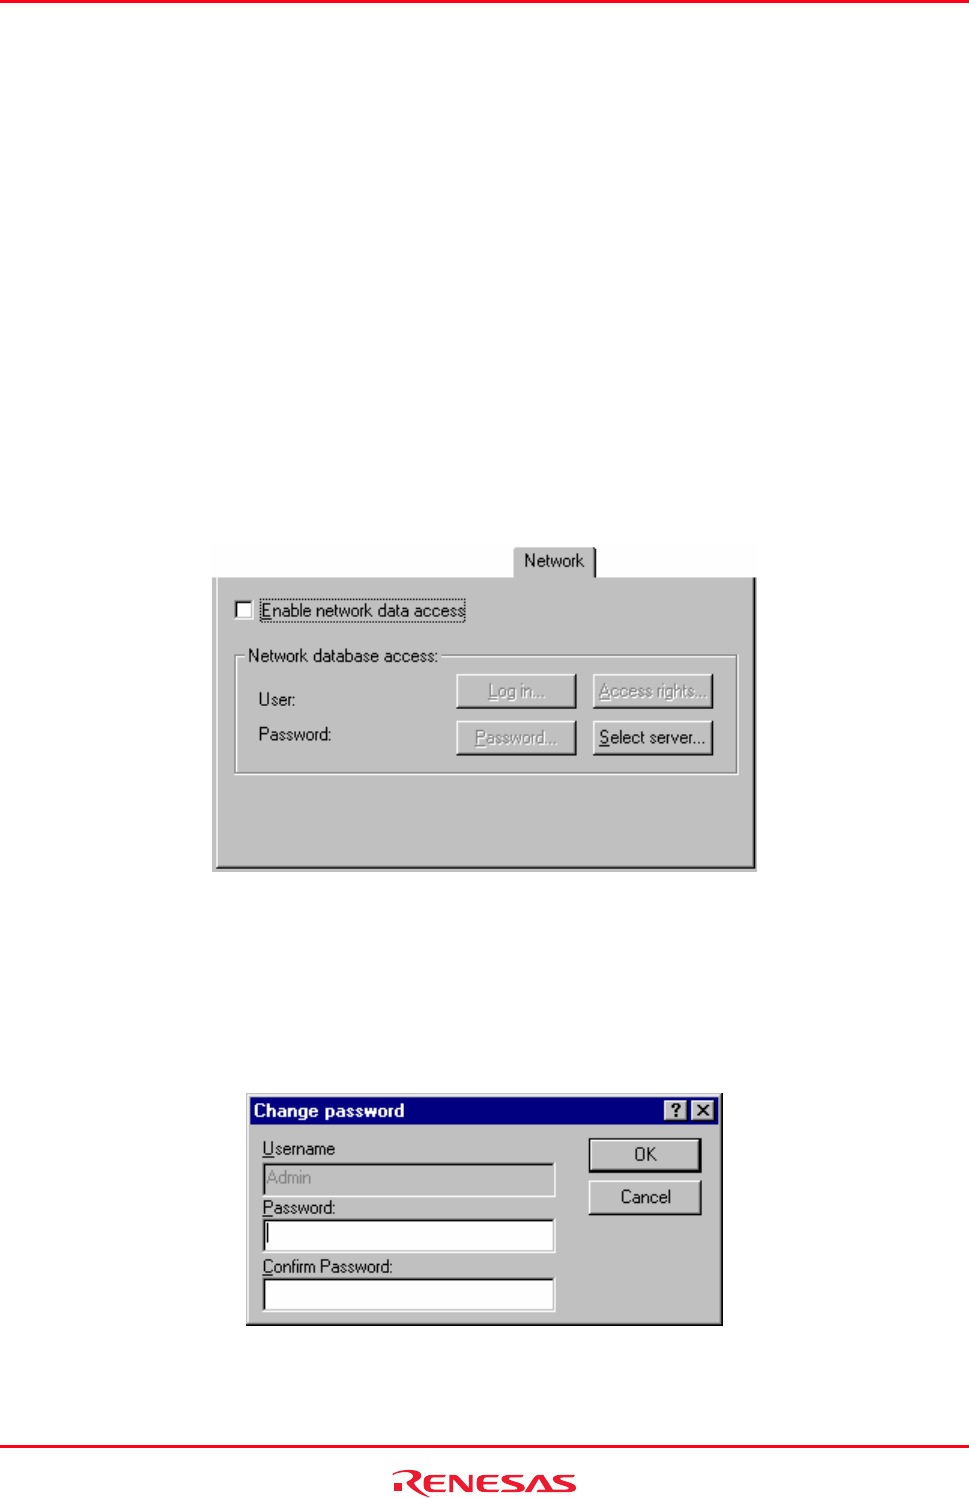
1. Continue from the previous sections (step 4).
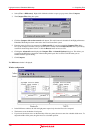
2. Click the Password button. This should have been enabled when the network data access was enabled.
3. The Change password dialog box opens.
4. The user name is read only in the top field. In this case it should be Admin.