


High-performance Embedded Workshop 6. Customizing the Environment
REJ10J1837-0100 Rev.1.00 Nov. 16, 2008
119
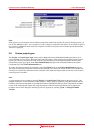
To remove buttons from a toolbar
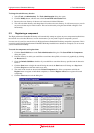
1. Select [Setup -> Customize]. The Customize dialog box opens.
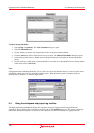
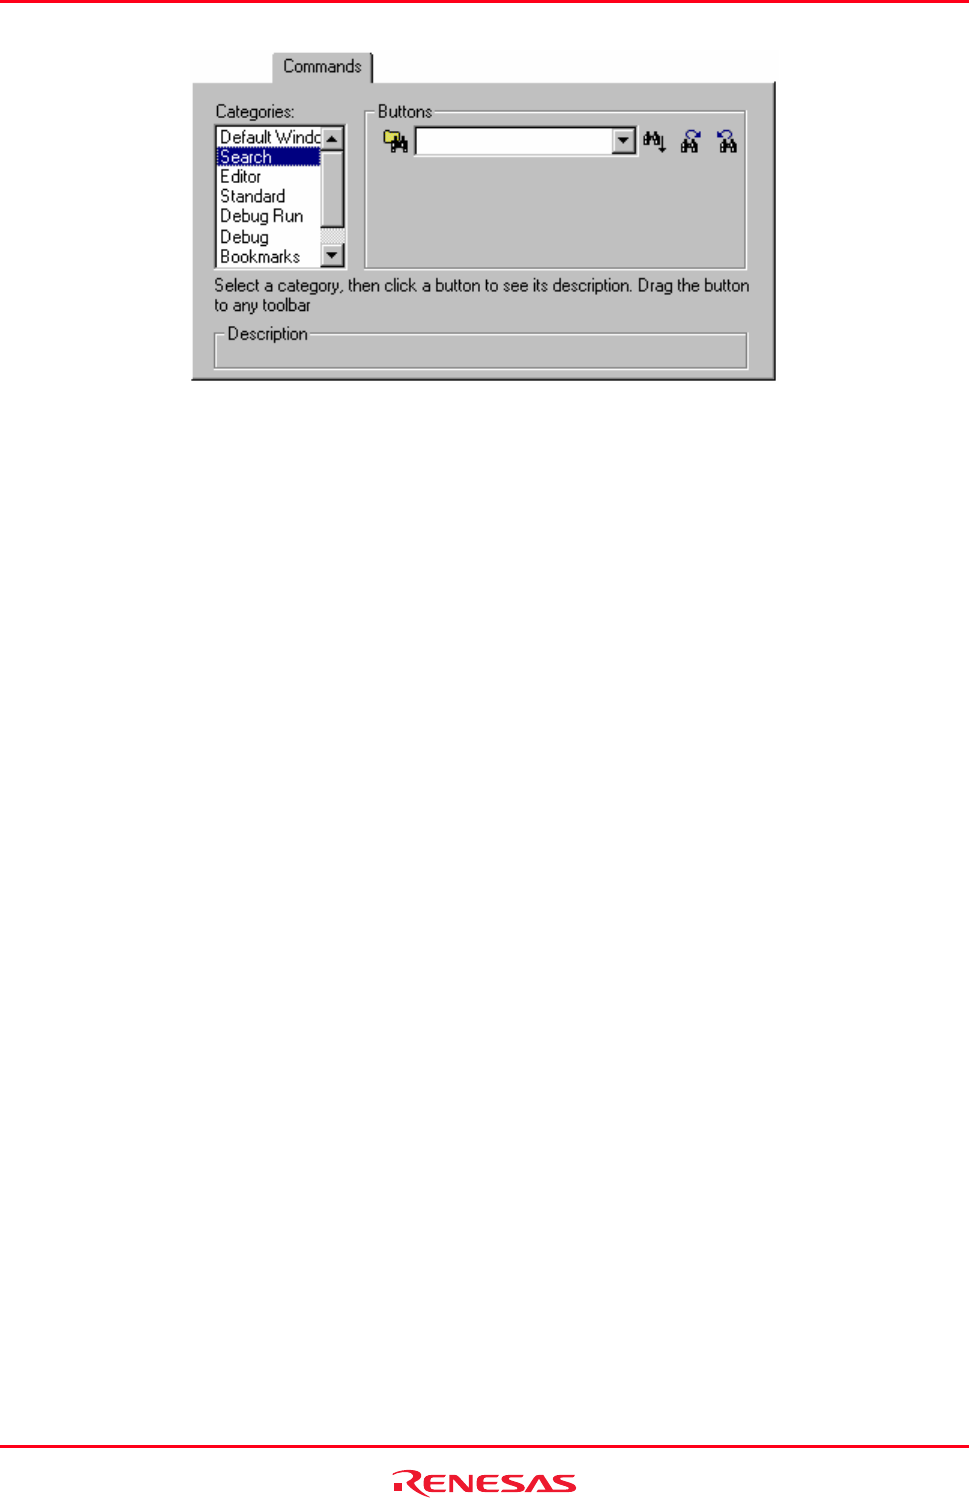
2. Select the Commands tab.
3. Click and drag a button from the toolbar onto the Buttons area.
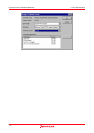
To modify the name of a user-defined toolbar
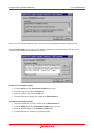
1. Select [Setup -> Customize]. The Customize dialog box opens.
2. Select the Toolbars tab.
3. In the Toolbars list, select the user-defined toolbar and whose name you want to modify.
4. Modify the name of the toolbar in the Toolbar Name field.
5. Click the OK button to save the toolbar’s new name.
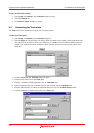
To remove a user-defined toolbar
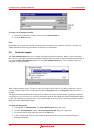
1. Select [Setup -> Customize]. The Customize dialog box opens.
2. Select the Toolbars tab.
3. Select the user-defined toolbar from the Toolbars list and the Reset button will change to a Delete button.
Click the Delete button.
To reset a standard toolbar back to its original state
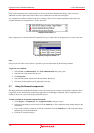
1. Select [Setup -> Customize]. The Customize dialog box opens.
2. Select the Toolbars tab.
3. Select the standard toolbar from the Toolbars list and then click the Reset button.
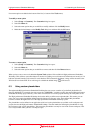
To reset the toolbar position back to its original state
1. Select [Setup -> Customize]. The Customize
dialog box opens.
2. Select the Toolbars tab.
3. Click the Reset Positions button.
The Reset Positions button reverts all toolbars back to their original 'factory' default positions. Be careful as this will
reset any custom positions that you may have setup during your session.