


High-performance Embedded Workshop 17. Using the Debugger
REJ10J1837-0100 Rev.1.00 Nov. 16, 2008
291
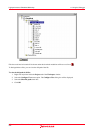
17.1.6.1 Selecting a session
To select a session
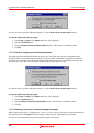
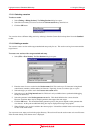
1. Select [Debug -> Debug Sessions]. The Debug Sessions dialog box opens.
2. Select the session that you want to use from the Current session drop-down list box.
3. Click the OK button.
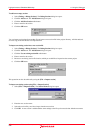
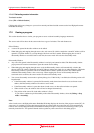
You can also select a different debug session by selecting it from the Current Session drop-down list on the Standard
toolbar.
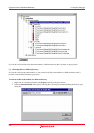
17.1.6.2 Adding a session
You can now create a session with a target attached and setup ready for use. This session can be given a name and the
target chosen.
To create a new session, with a target attached and setup
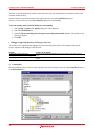
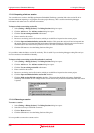
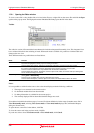
1. Select [File -> New Session]. The New Session dialog box opens.
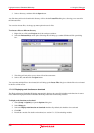
2. Enter the name of a new session into the Session name field. This can be up to 32 characters in length and
contain letters, numbers, and the underscore character. Especially, do not use a minus sign, or a space.
3. Select the target you wish to use in the Create a new session on list.
4. Select the core in the Using internal core list. This item is only available when a synchronized debugging
facility has been used.
5. Select the generator in the Session generator to use list. This should default to the correct selection.
However sometimes there may be multiple generators that support the same target.
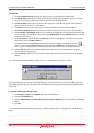
6. Click the OK button. This should launch the generation process, the process depends on the generator that
was selected. At this point an additional dialog box may be displayed for target setup options.
7. When finished, a new session is added to the current project. It should be available in the sessions drop-down
list box on the main toolbar.
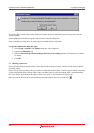
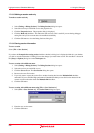
You can create a new empty session in the project directory. The session will use the session name as its new file name.
If the file name already exists then an error is displayed.