


High-performance Embedded Workshop 17. Using the Debugger
REJ10J1837-0100 Rev.1.00 Nov. 16, 2008
372
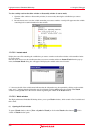
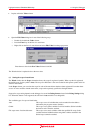
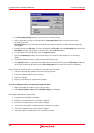
(11) Setting real-time update
The R mark shown to the left of each variable indicates whether the variable is updated in real-time.
A pop-up menu containing the following options is available in the Watch window:
Auto Update Marks the selected variable with a bold R and updates the variable in real-time.
Auto Update All Marks all variables with bold Rs and updates all variables in real-time.
Delete Auto Update Marks the selected variable with an outlined R and cancels real-time update.
Delete Auto Update All Marks all variables with outlined Rs and cancels real-time update.
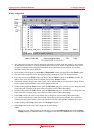
The values of variables for which real-time update has been enabled can be modified during execution of the program.
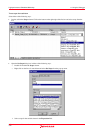
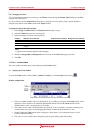
(12) Setting an update interval
The interval to update the display contents of the Watch window during execution of the user program can be changed.
Support for this function depends on the debugger.
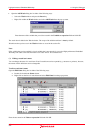
To set an update interval
1. Right-click within the window to open a pop-up menu.
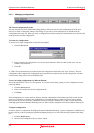
2. Select Update Interval. The Update Interval Setting dialog box opens.
3. Specify an update interval in 10-ms units for Interval. The default value is 100 ms. The valid range of values
depends on the debugger in use.
4. Click OK.
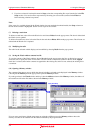
The specified update interval is applied to all panes of the Watch window.
The actual update interval may be longer than the specified value depending on the state of execution.
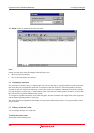
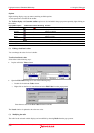
(13) Recording the history of updating of values
The history of updating of the values of watch items, to which automatic update has been applied in the Watch window,
can be recorded into a file.
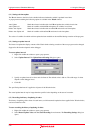
To start recording the history of updating of values
1. Right-click within the window to open a pop-up menu.
2. Select Record Update Value and then Start Recording from submenus. The Recording Settings dialog box
opens.