


High-performance Embedded Workshop 3. Advanced Build Features
REJ10J1837-0100 Rev.1.00 Nov. 16, 2008
85
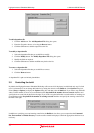
To save the linkage order in a text file
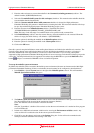
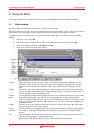
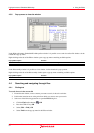
1. Click [Build -> Linkage Order]. The Linkage Order dialog box opens.
2. Select the Use custom linkage order check box.
3. Click on the Export button. The Export Linkage Order dialog box opens.
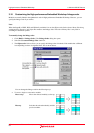
4. Choose a file and directory and click on the Save button. The current settings in the list box are saved in the
specified text file.
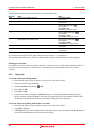
Example:
# Exported linkage order for project "Project_name" - configuration "Debug"
c:\workspace\workspace_name\project_name\debug\main.obj
c:\workspace\workspace_name\project_name\debug\resetprg.obj
c:\workspace\workspace_name\project_name\debug\intprg.obj
c:\workspace\workspace_name\project_name\debug\runtime_library.lib
c:\workspace\workspace_name\project_name\debug\projectname.lib
c:\workspace\workspace_name\project_name\debug\user_edit_options.lib
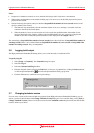
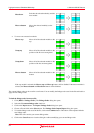
Open the file (e.g. in the Editor), modify the linkage order, and then save it in the text format. Follow the
procedures of “To import the linkage order from the text file” to load the new linkage order.
When you are using multiple configurations it is likely that the linkage order will be very similar. To do this effectively
you can copy the current settings in the dialog to other configurations. This is described below:
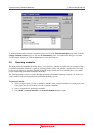
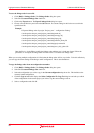
To copy the linkage order from one configuration to another
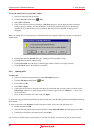
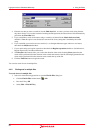
1. Click [Build -> Linkage Order]. The Linkage Order dialog box opens.
2. Select the Use custom linkage order check box.
3. Select the configuration you wish to copy in the Current configuration drop-down list. This defaults to the
currently loaded configuration.
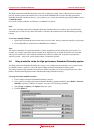
4. Click the Copy to button this displays the Select Configuration To Copy To dialog box and asks you which
of the configurations in the current project you wish to copy the current linkage order to.
5. Select a configuration and click OK.