


High-performance Embedded Workshop 4. Using the Editor
REJ10J1837-0100 Rev.1.00 Nov. 16, 2008
103
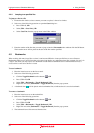
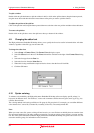
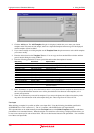
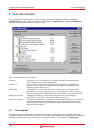
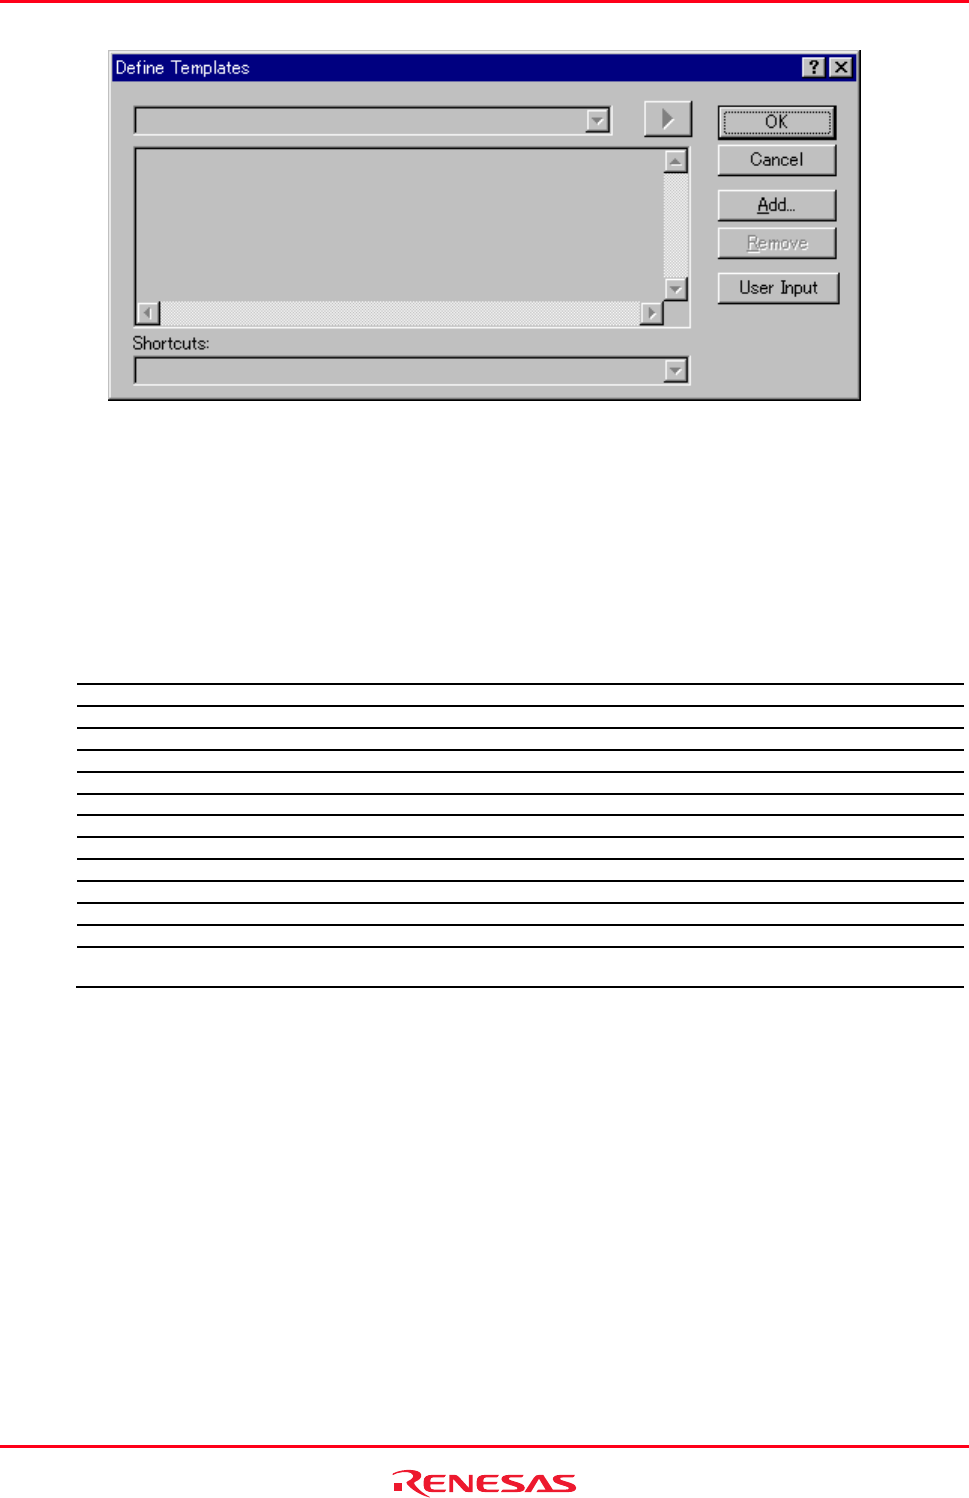
2. Click the Add button. The Add Template dialog box is displayed, which asks you to enter your chosen
template name. This name must be unique, otherwise a duplicated template name message will be displayed
and the template will not be added.
3. If you want to modify an existing template use the Template Name drop-down menu to select which template
you want to modify.
4. Enter the desired text into the Template Text area. You can copy text from another Editor window and then
paste it into this dialog box using CTRL+V.
5. Enter the following placeholder to insert special information when the template is inserted:
Menu Entry Placeholder Replaced With
File path + name $(FULLFILE) Filename (including full path)
File name $(FILENAME) Filename (excluding path, including extension)
File leaf $(FILELEAF) Filename (excluding path and extension)
Workspace name $(WORKSPNAME) Workspace name
Project name $(PROJECTNAME) Current project name
Line number $(LINE) First line number of template insertion
Time $(TIME) Current time
Date, text $(DATE_TEXT) Current date in text form
Date, day/month/year $(DATE_DMY) Current date in dd/mm/yy form
Date, month/day/year $(DATE_MDY) Current date in mm/dd/yy form
Date, year/month/day $(DATE_YMD) Current date in yy/mm/dd form
User name $(USER) Current Windows® user
Cursor position $(CURSOR) Insertion cursor – positions the cursor in this position after template
has been inserted
6. Enter ‘$(
CURSOR)’ to specify where the insertion cursor is to be placed after the template has been inserted. If
this is not specified then the insertion cursor will be placed after the last character in the template, as in a
normal paste operation.
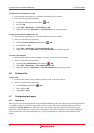
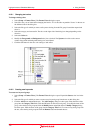
7. There are 10 shortcut keys reserved for templates. If you want to designate one of these select the key in the
drop-down list at the bottom of the edit template dialog box. These range from ALT+0 to ALT+9.
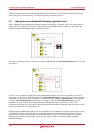
User input
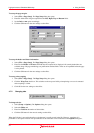
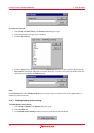
When defining a template it is possible to define a user input field. Using the following placeholder specifies this
$(USERINPUT<n:1-10>|”<some text>”). The 'n' is a number, which identifies the user input identifier.
These placeholders can be added manually but the User Input button on the Define Templates dialog box adds these
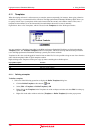
placeholders in an automated manner. When the template is inserted into a file a dialog is displayed which allows you
to enter some custom text for each of these fields. This text is then inserted instead of the placeholder. You can define
ten of these user input fields.