


High-performance Embedded Workshop 8. Using the Custom Version Control System
REJ10J1837-0100 Rev.1.00 Nov. 16, 2008
140
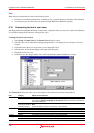
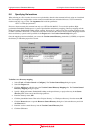
To change the ordering of user-defined version control menu options
1. Select [Tools -> Version Control -> Configure]. The Version Control Setup dialog box opens.
2. Select the menu option to be moved and then click the Move up and Move down buttons as necessary.
3. Close the Version Control Setup dialog box by clicking the OK button.
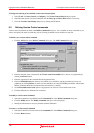
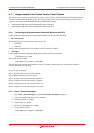
8.2 Defining Version Control commands
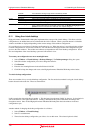
Version control commands are listed in the Define Commands dialog box. You can define as many commands as you
want to and specify the order in which they execute. Existing commands can be modified or removed.
To define a new version control command
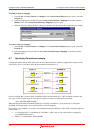
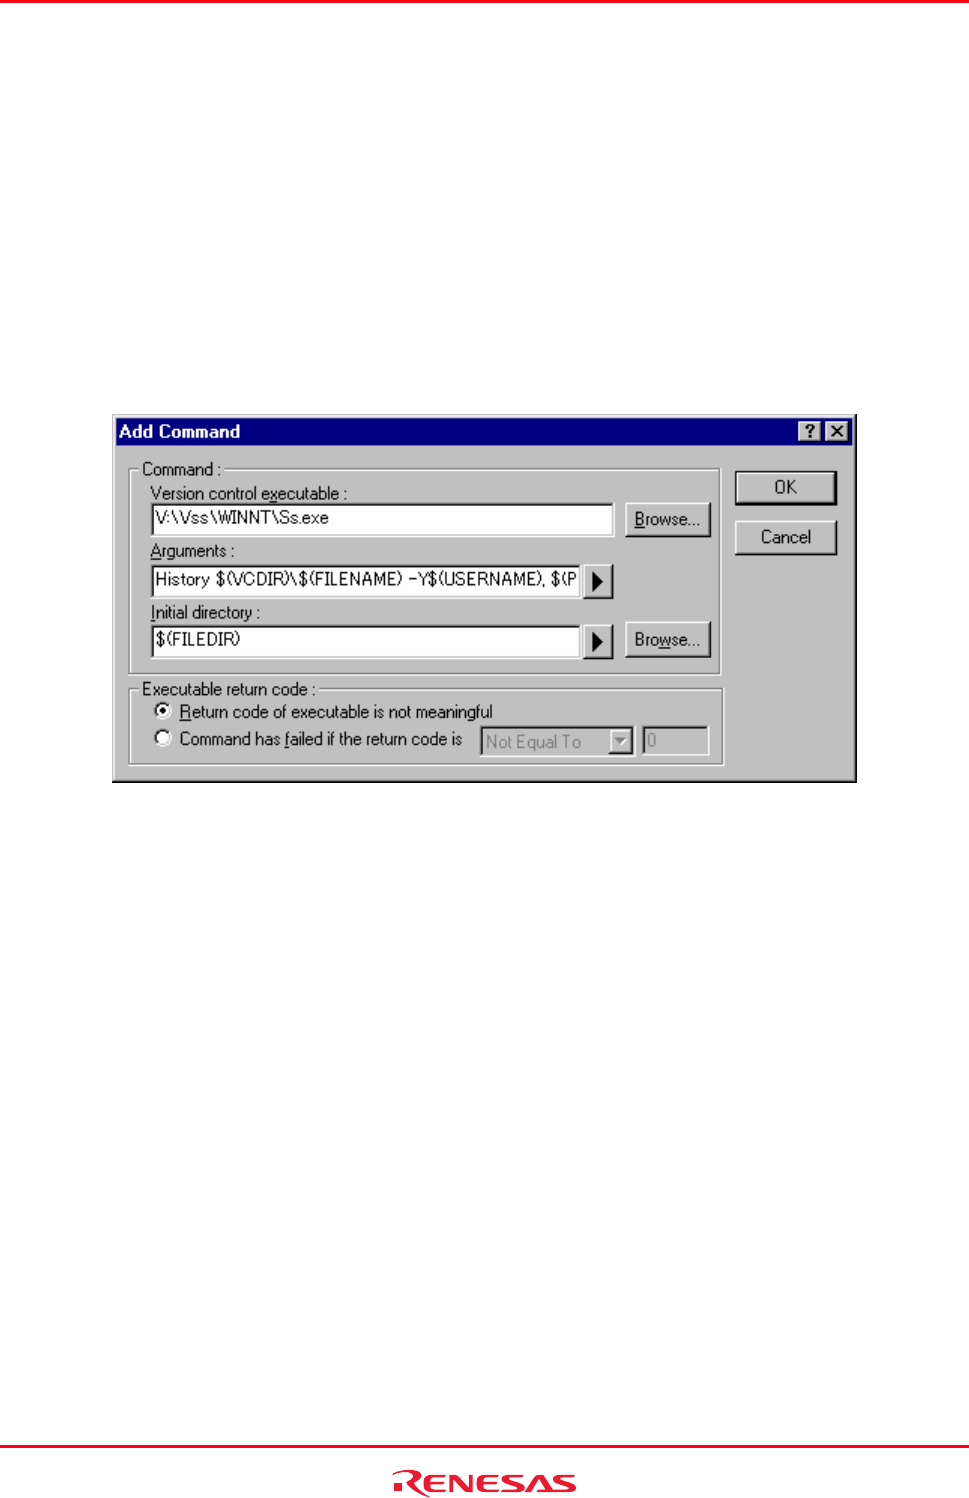
1. Click the Add button on the Define Commands dialog box. The Add Command dialog box opens.
2. Enter the full path of the command into the Version control executable field, or browse to it graphically by
clicking the Browse button.
3. Enter the arguments for the command into the Arguments field.
4. Enter into Initial directory the directory from which you would like to run the executable or browse to it
graphically by clicking Browse. In most cases this should be set to the $(FILEDIR) placeholder, which means
that the command should be executed from the same directory as the file.
5. Set the Executable return code options as appropriate (see section 8.5, Executable return code).
6. Click the OK button to define the new command.
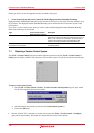
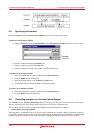
To modify a version control command
1. Select the command to be modified from the Commands list of the Define Commands dialog box.
2. Click the Modify button. The Modify Command dialog box will be displayed.
3. Modify the information as necessary and then click the OK button.
To remove a version control command
1. Select the command to be removed from the Commands list of the Define Commands dialog box.
2. Click the Remove button.